OPEL C-KADETT
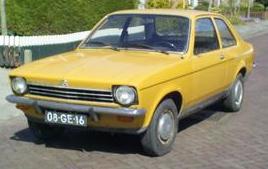
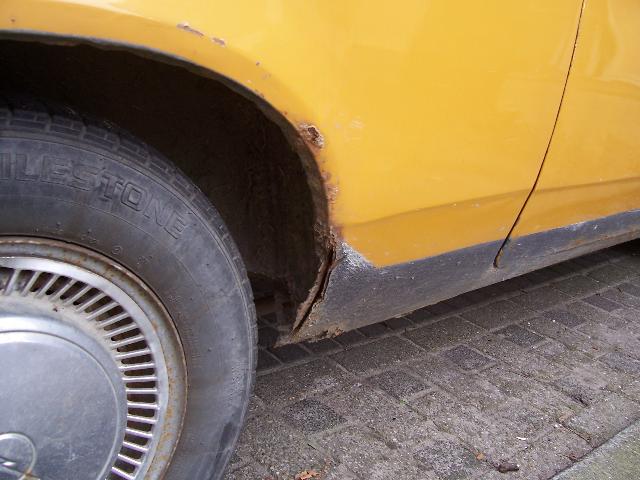
At first glanse, The rust damage is not so bad
There is only a smal crack in Floor bord beside
the passengerseat, just a little welding, and we'r off
BUT.........
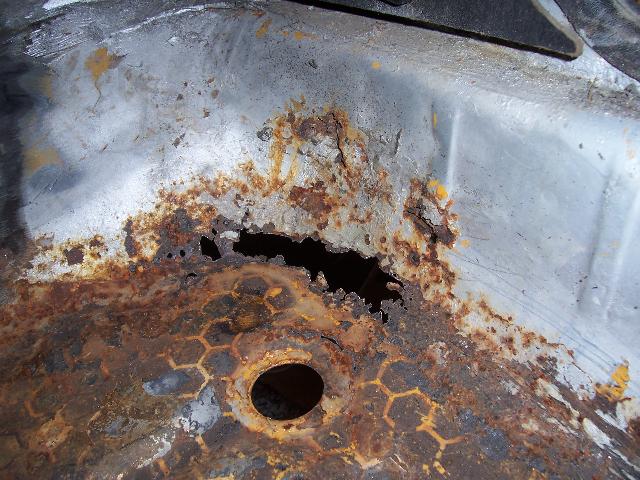
After closer inspection there is much more wrong(rotten)
it's high time for
"A Rustoration"
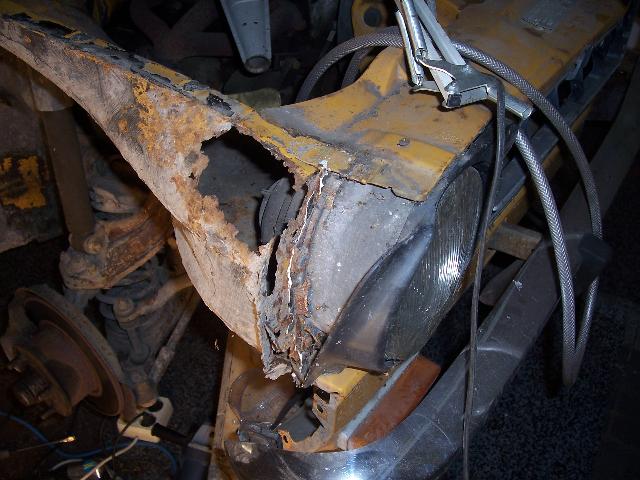
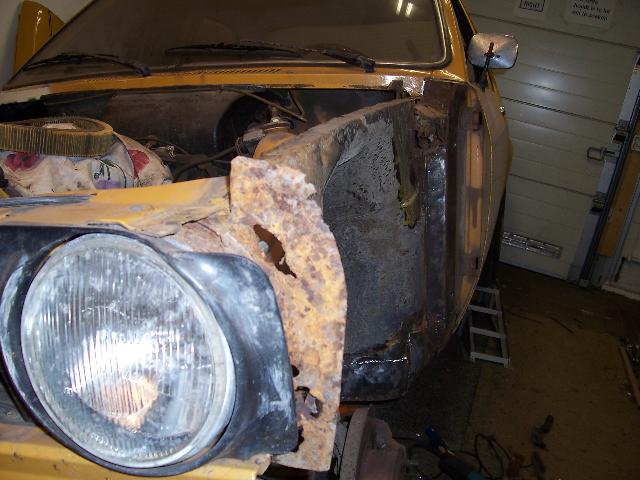
After the frontfender was removed it became clear
that there was alot hidden underneath a
thick layer of Bitac(rust prevention paint)
The right headlight housing has a hole of 10cm by 15 cm in it
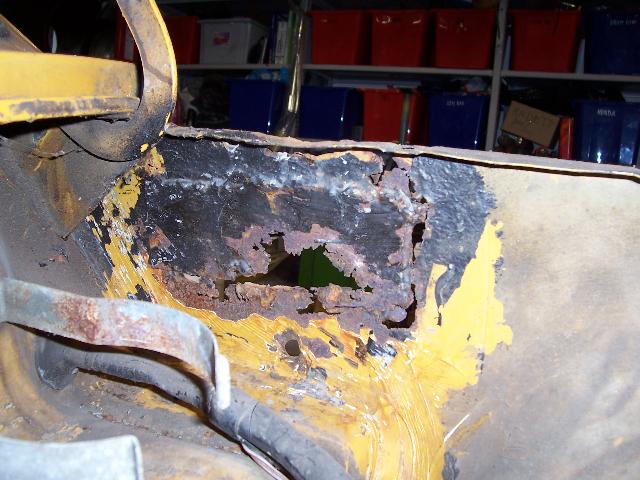
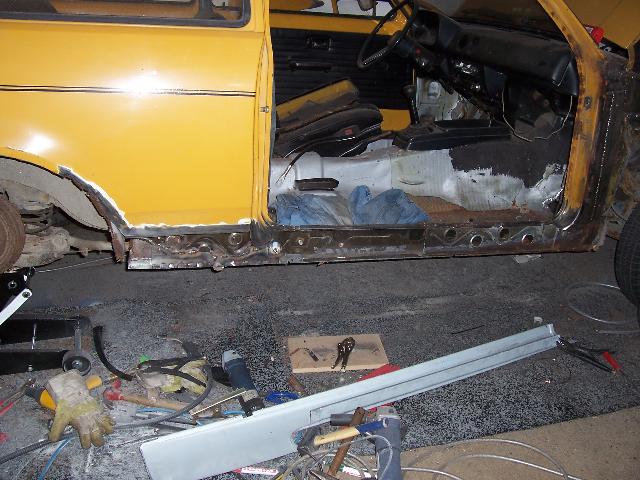
In the stillplate there is another hole of about 10cm by 50cm nicely done
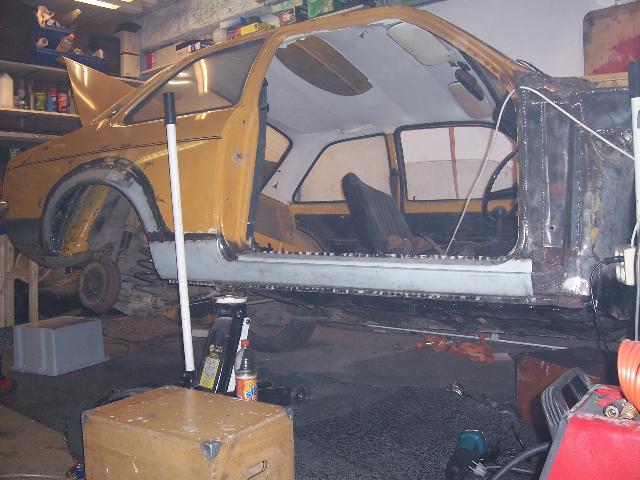
that "cover up" paint job, that will have to be completely replaced
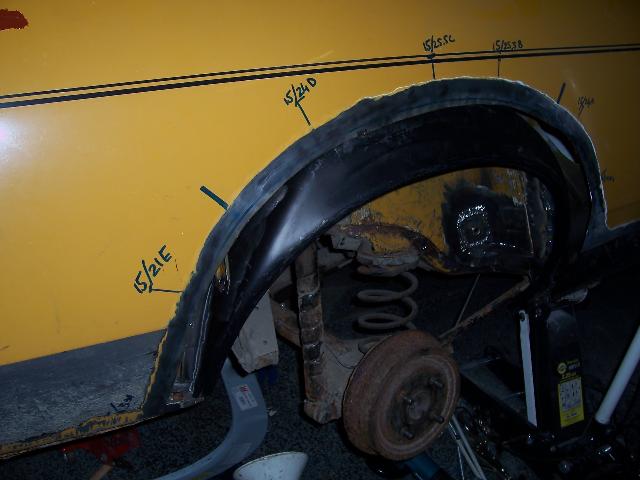
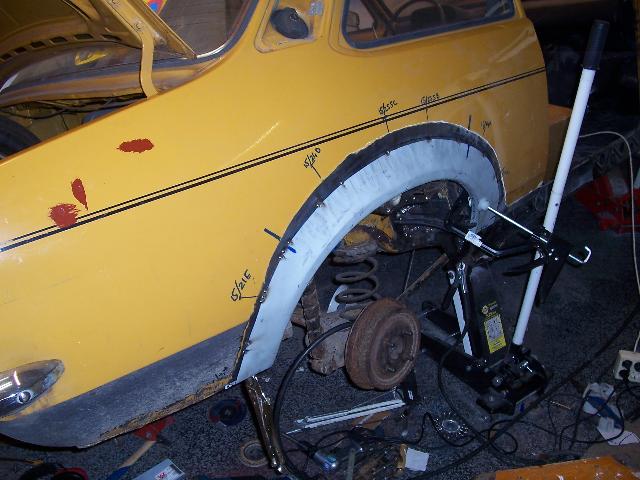
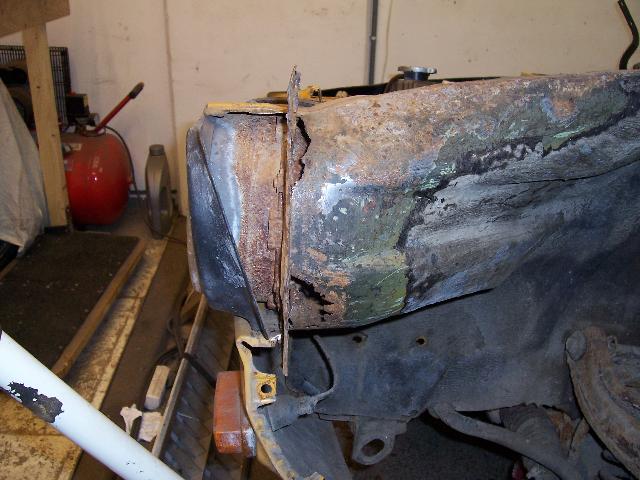
Just like the wheelarches and while I am on it I might do the inner wheelarches as well
The left headlight housing is just as crispy as the right one
So BREAK OUT the angle grinder
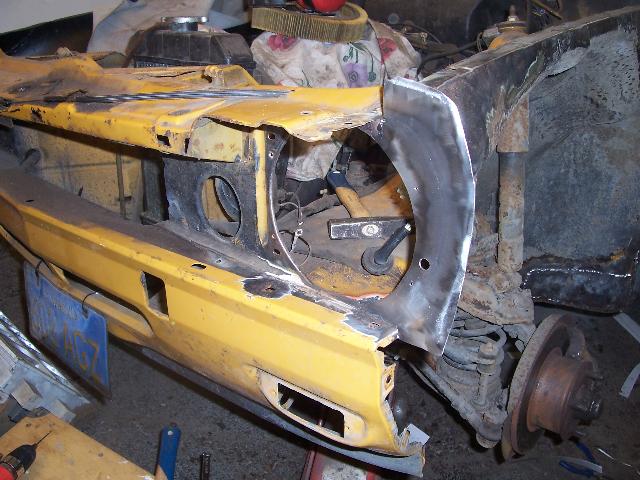
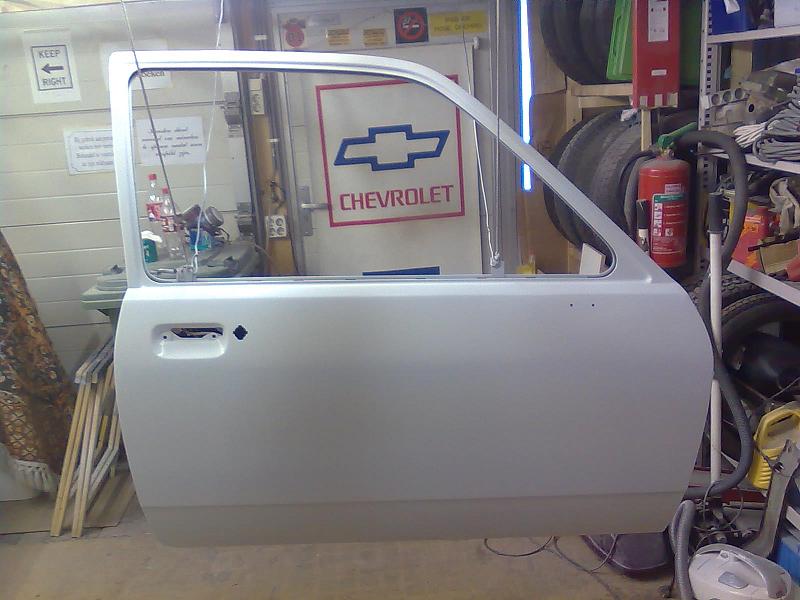
The "new" headlight housing looks nice, just like
the wheelarches thanks to dad (magic martin)
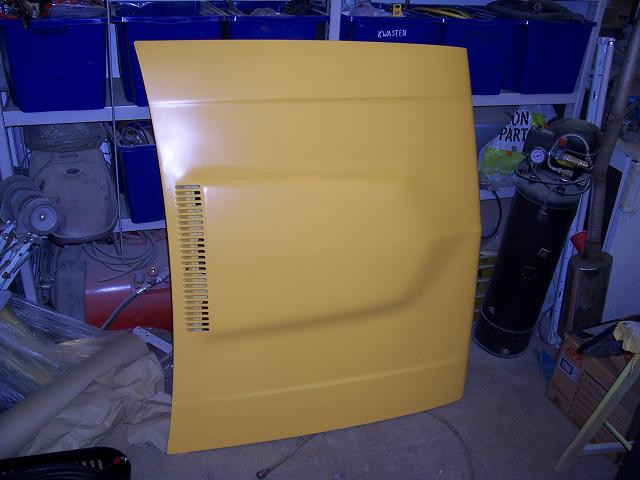
I found a nice hood on "the net" oke it is a later model(C2)
but that's another challenge
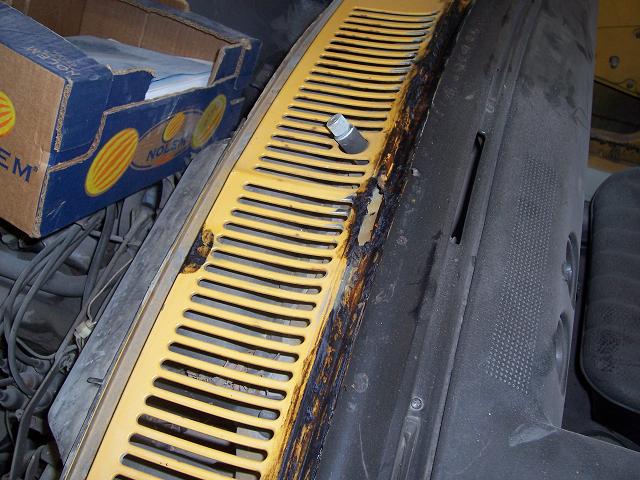
Underneath the front windshield rubber there was a surprise waiting for me
Surprisingly the rear windshield rubber had NO rust hidden
The rubbers them self are a rite off, and that after only 33 years
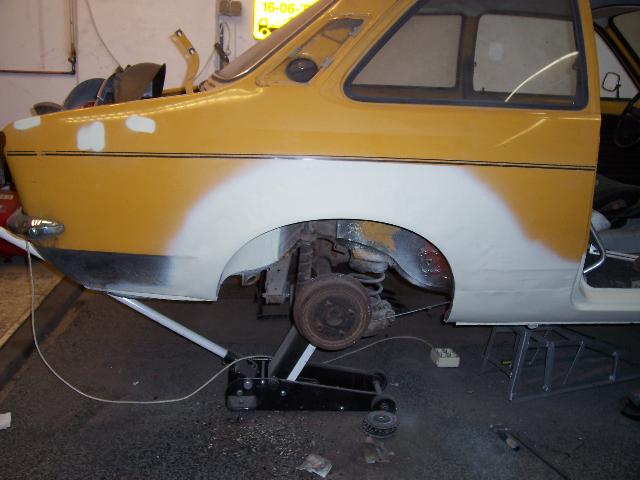
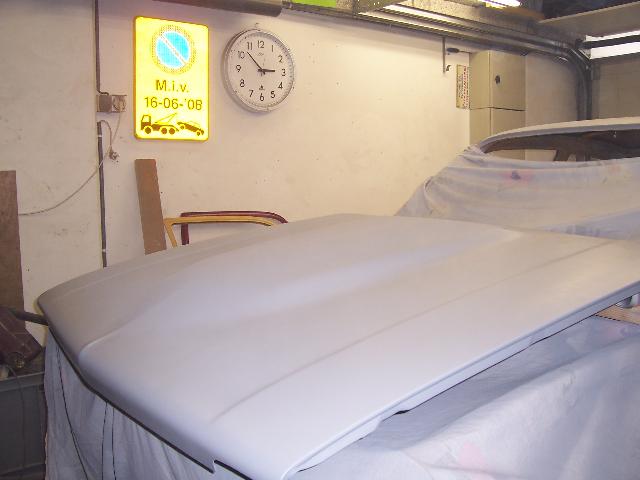
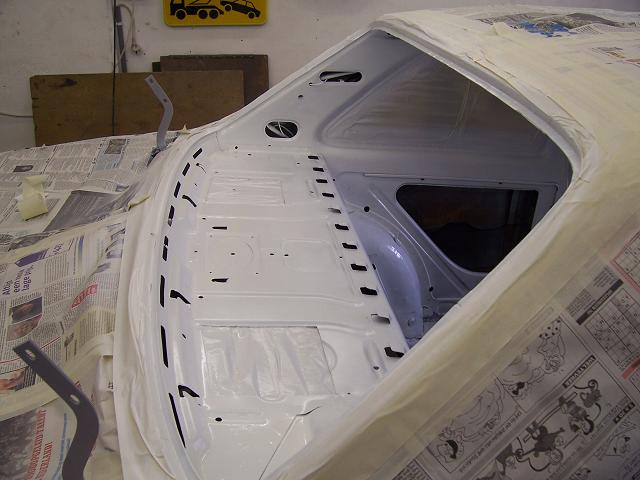
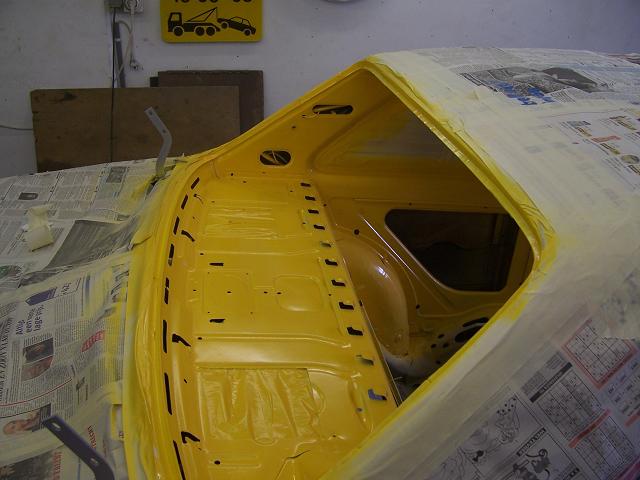
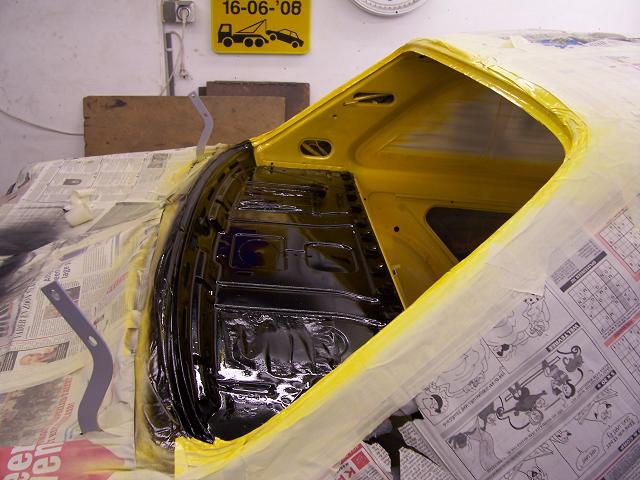
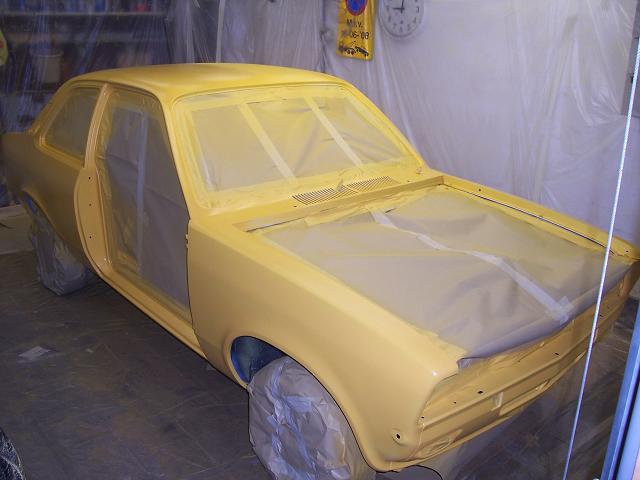
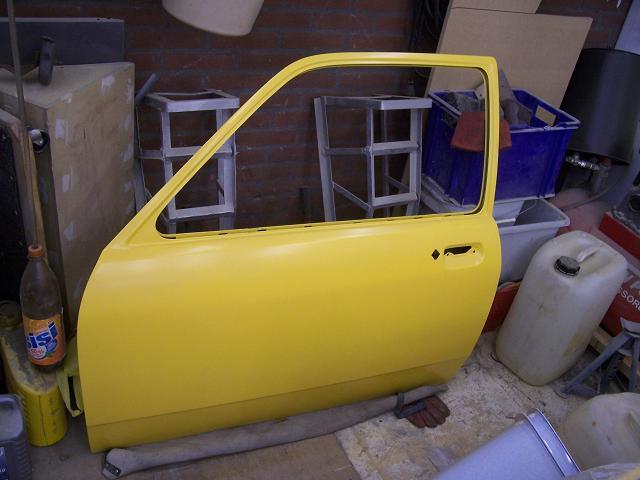
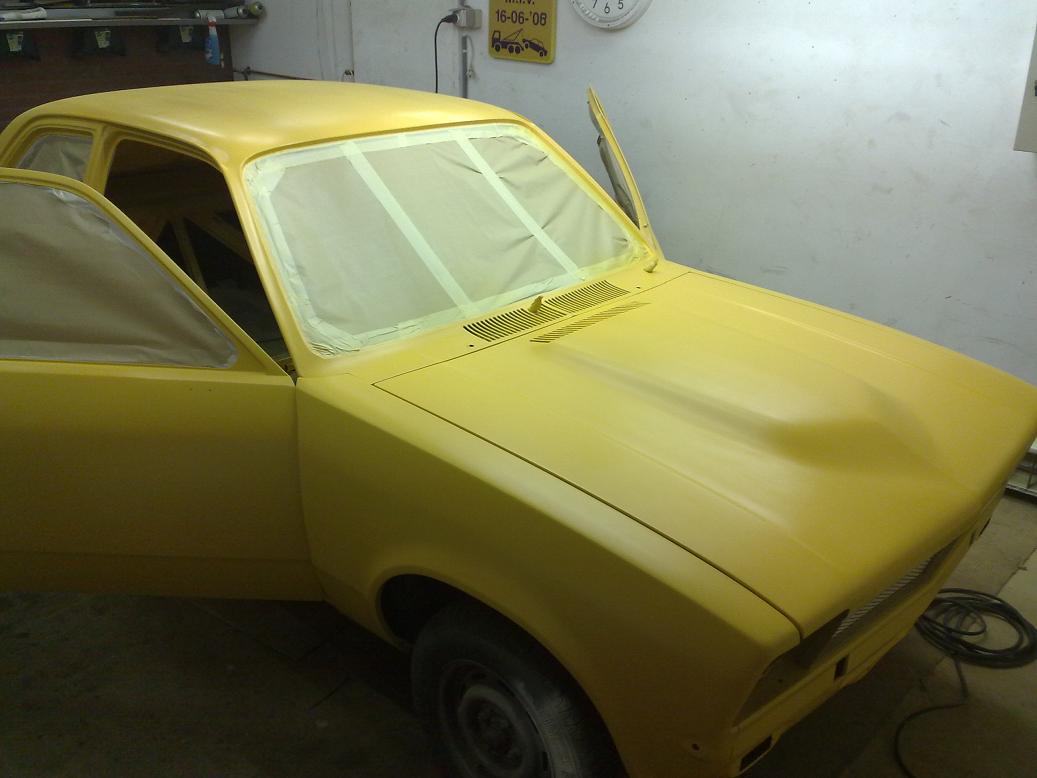
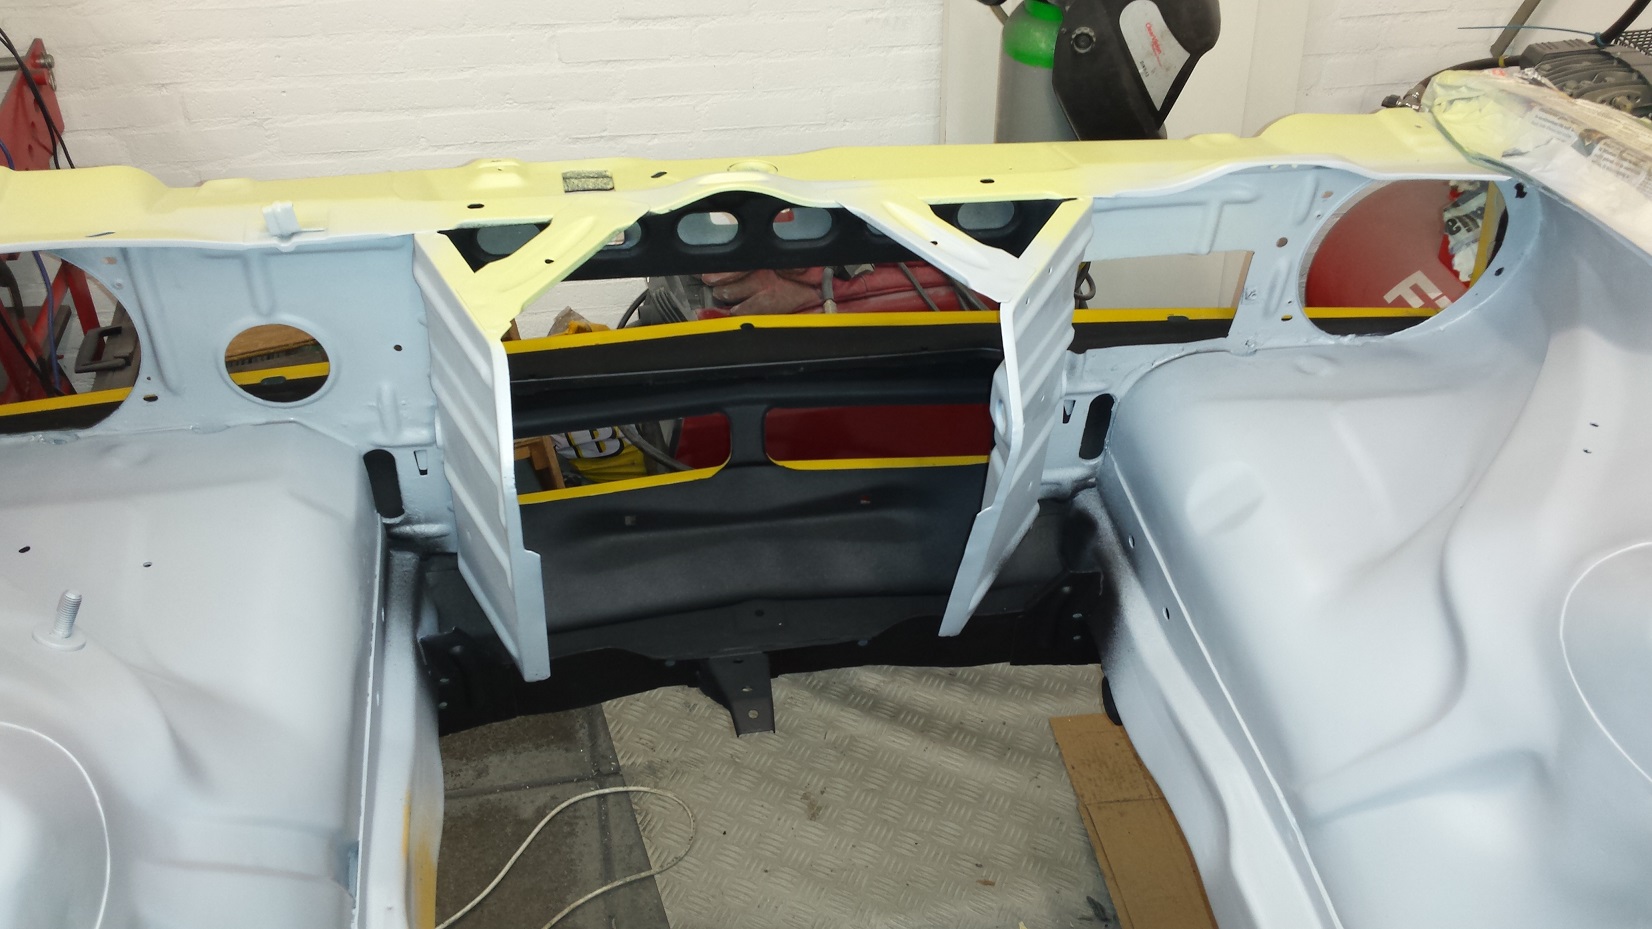
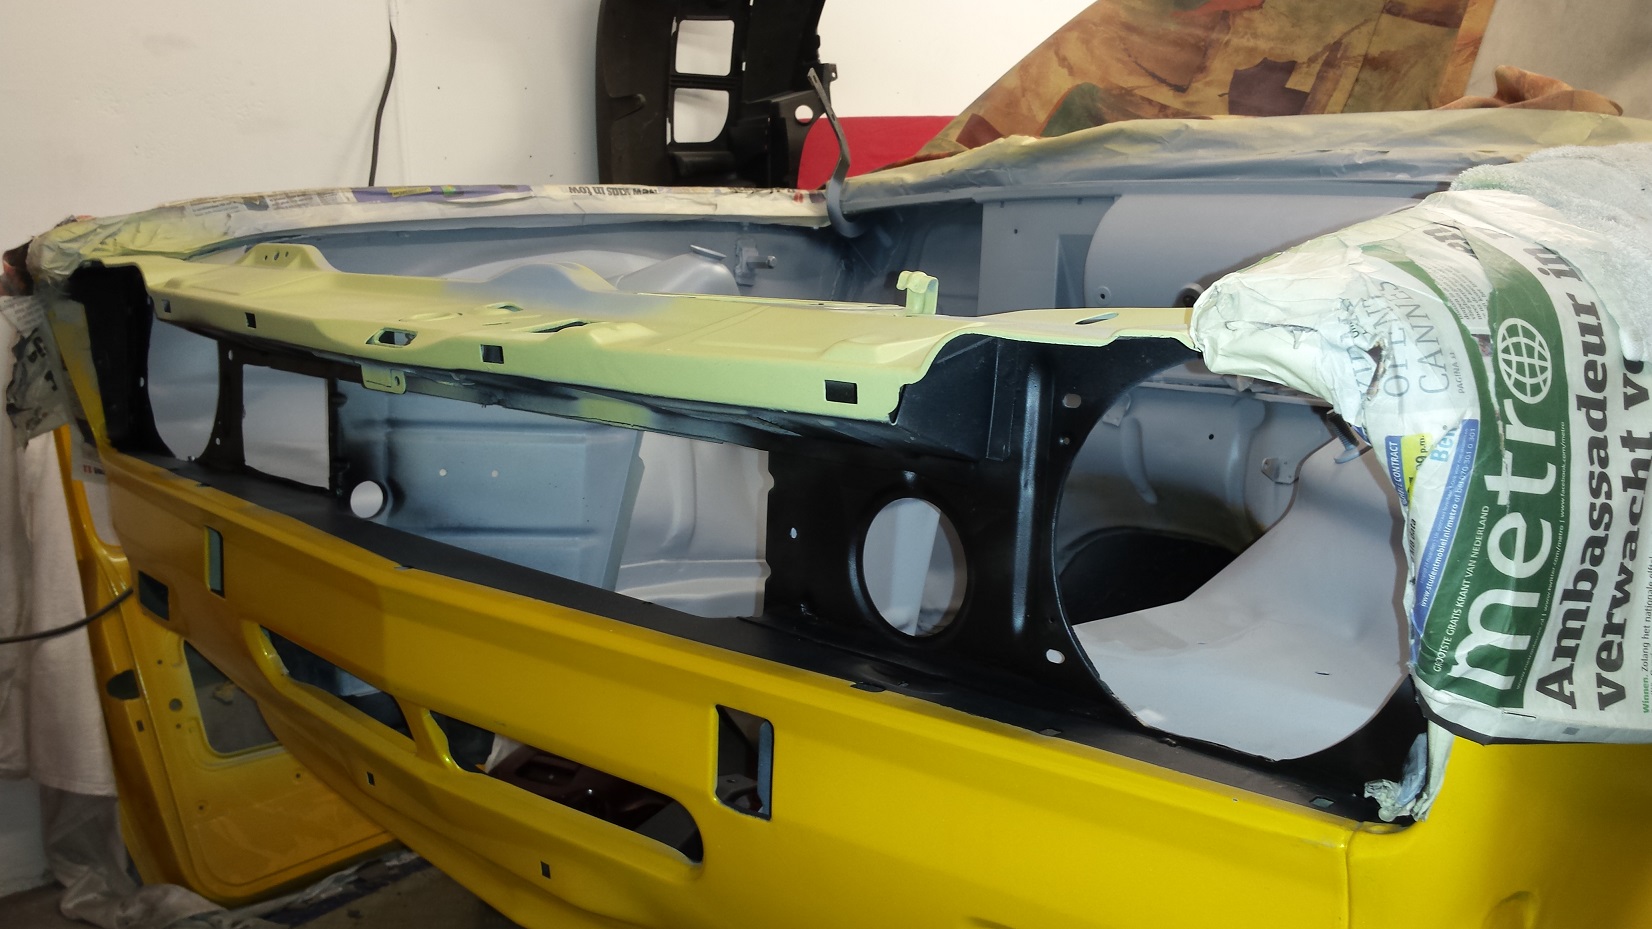
Now it's time for Painting
Thats fun work
But a lot of work
(On your own)
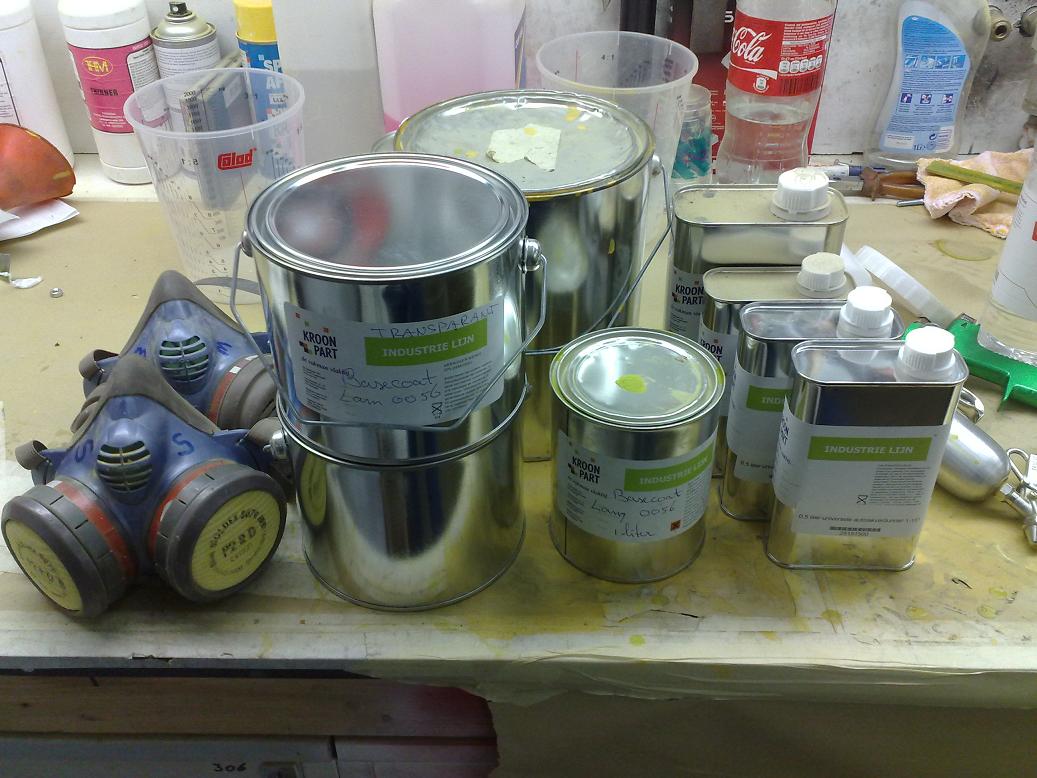
that's a lot of paint
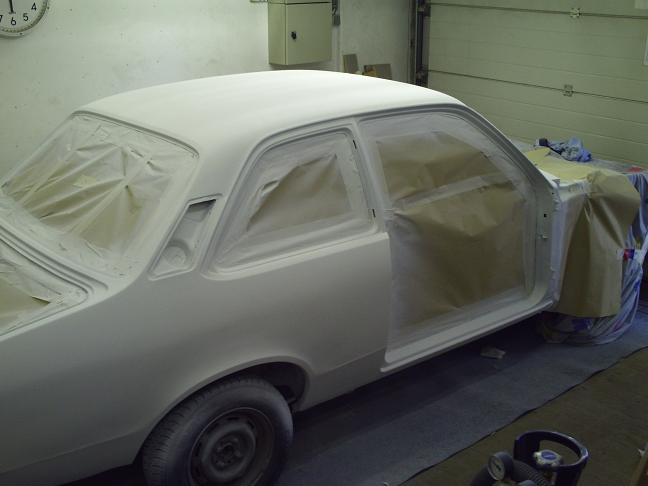
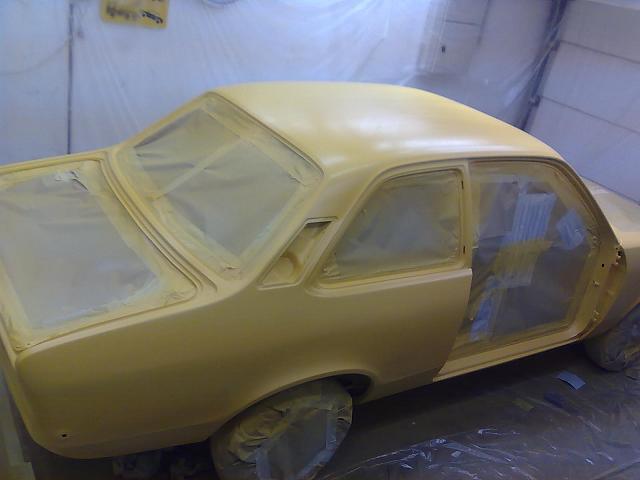
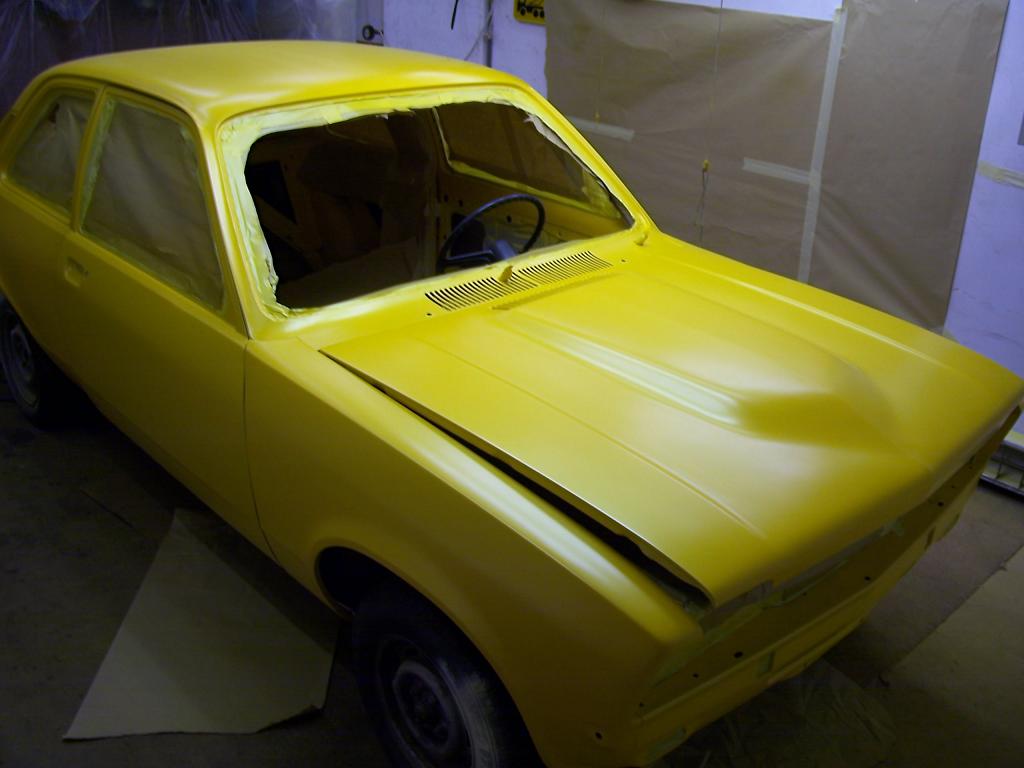
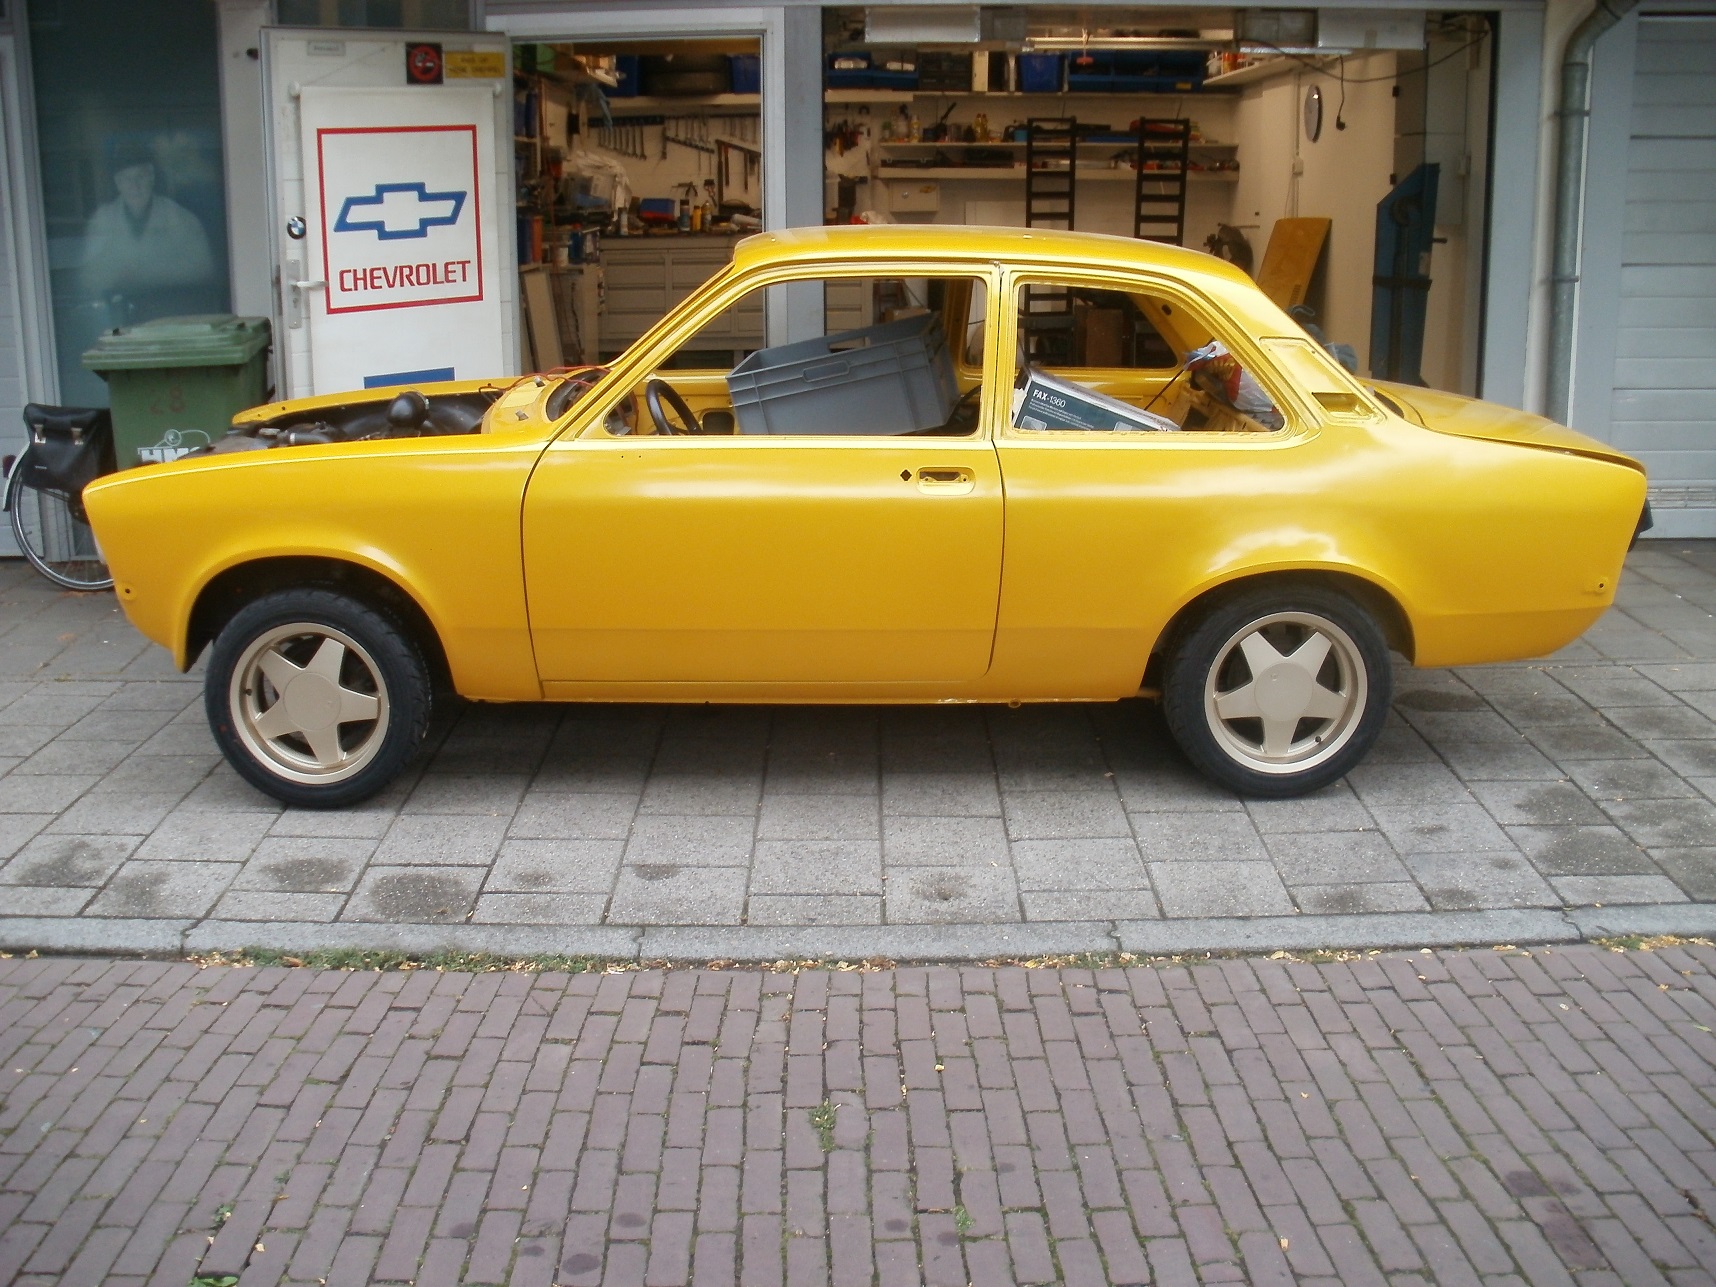
let's see how it looks with some other wheels
That looks good (even if I say so myself)
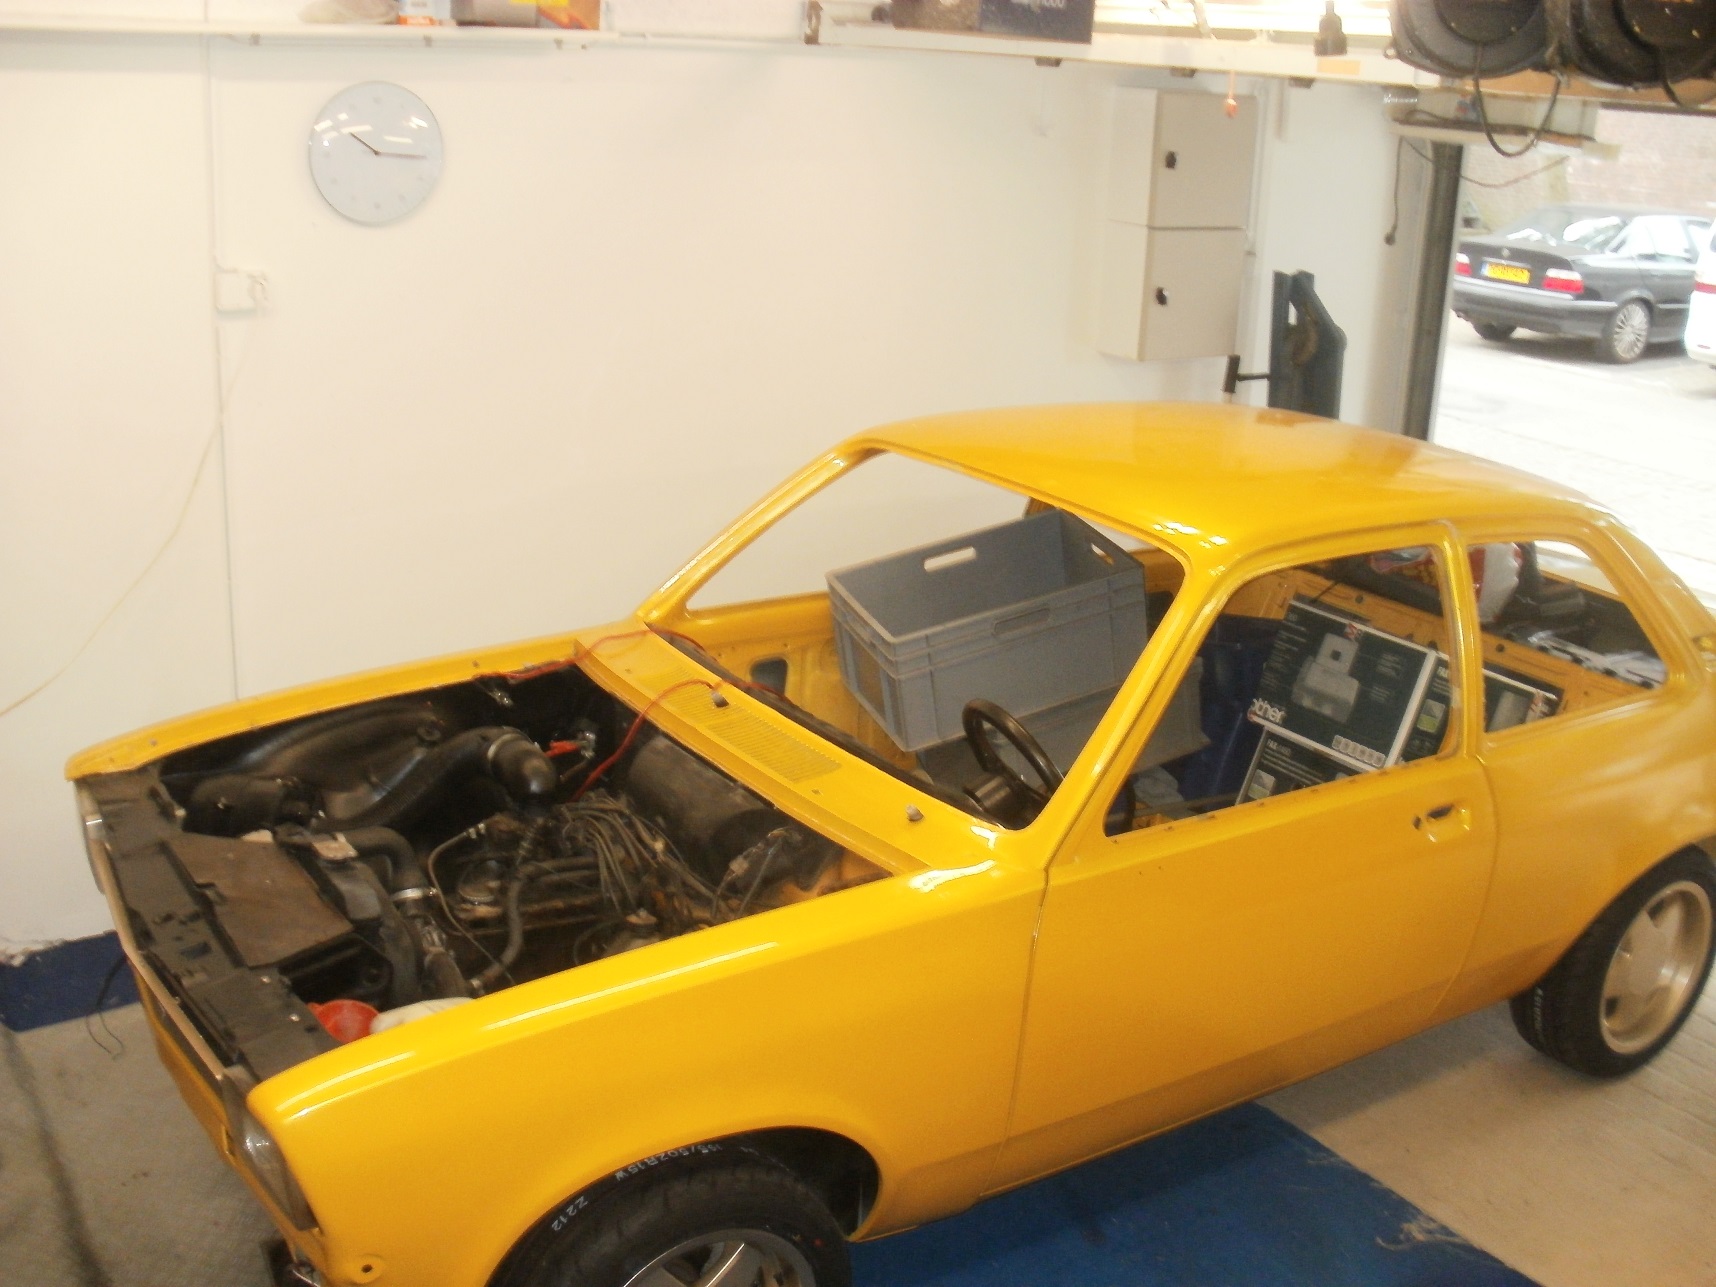
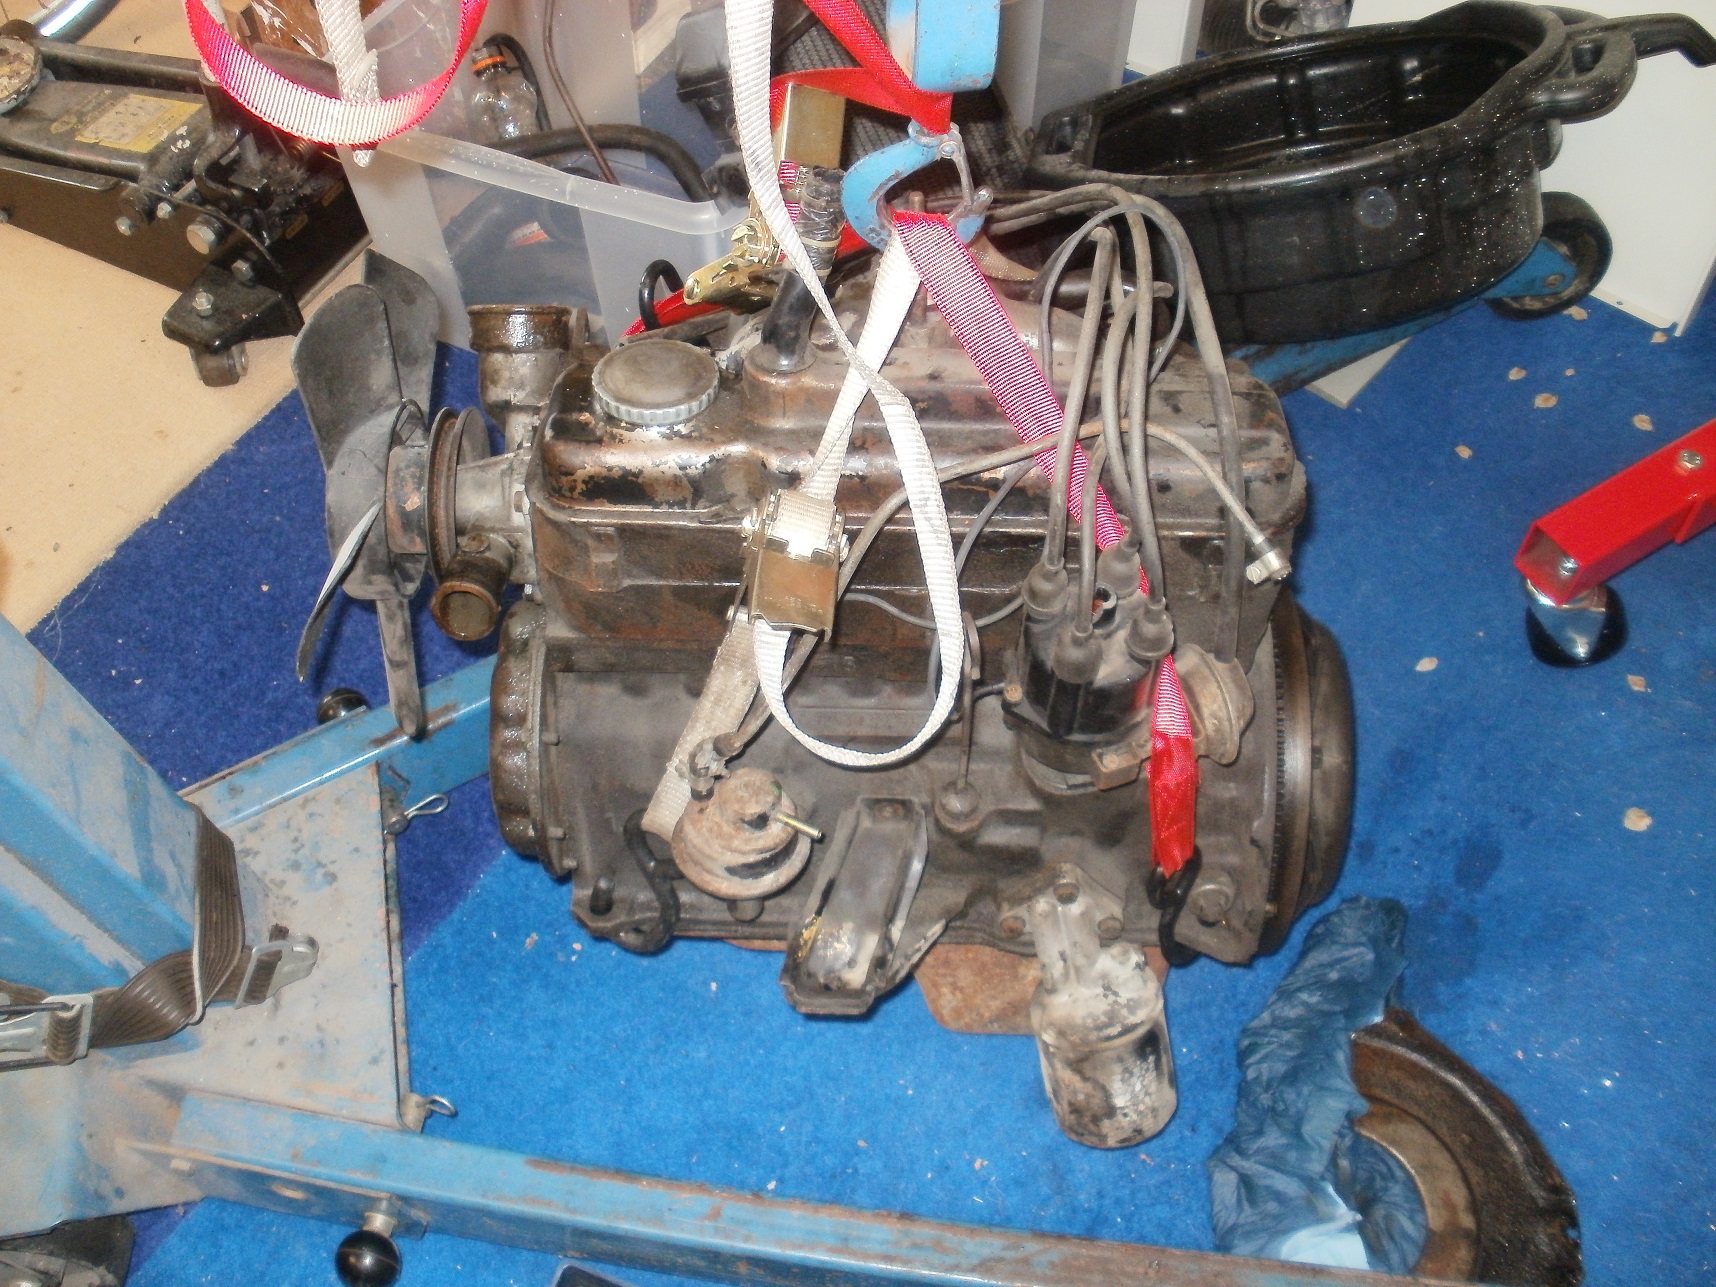
now is the time to do something with the engine
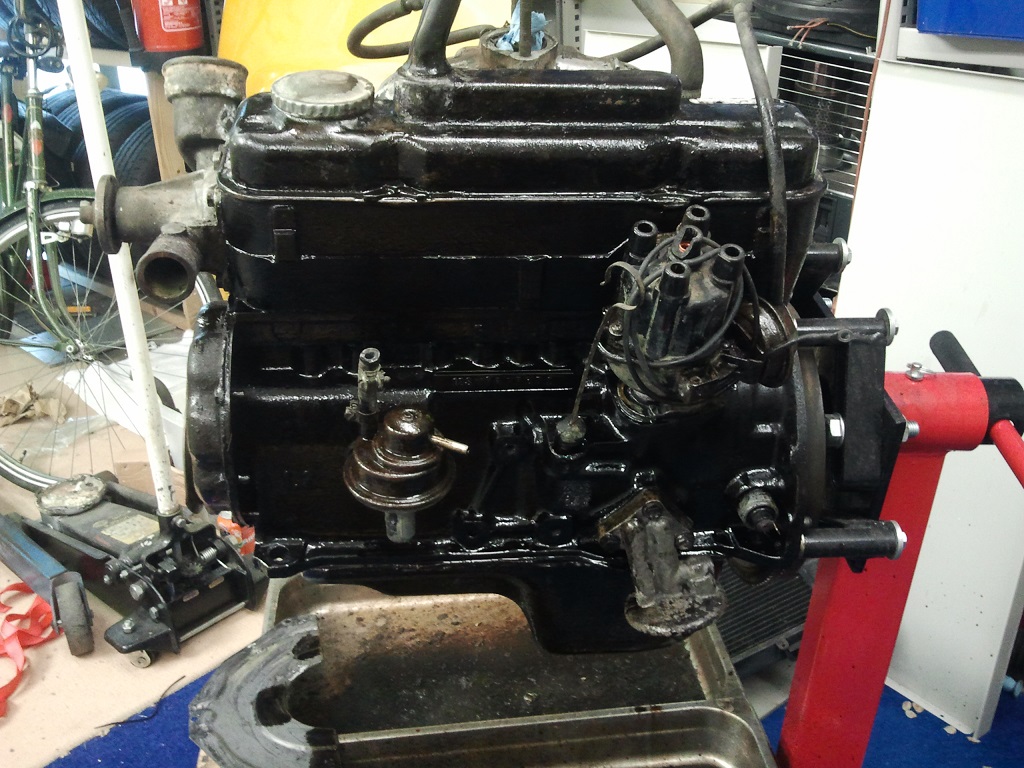
Engine strip alternator, starter, brackets etc, degreasing and rust removal
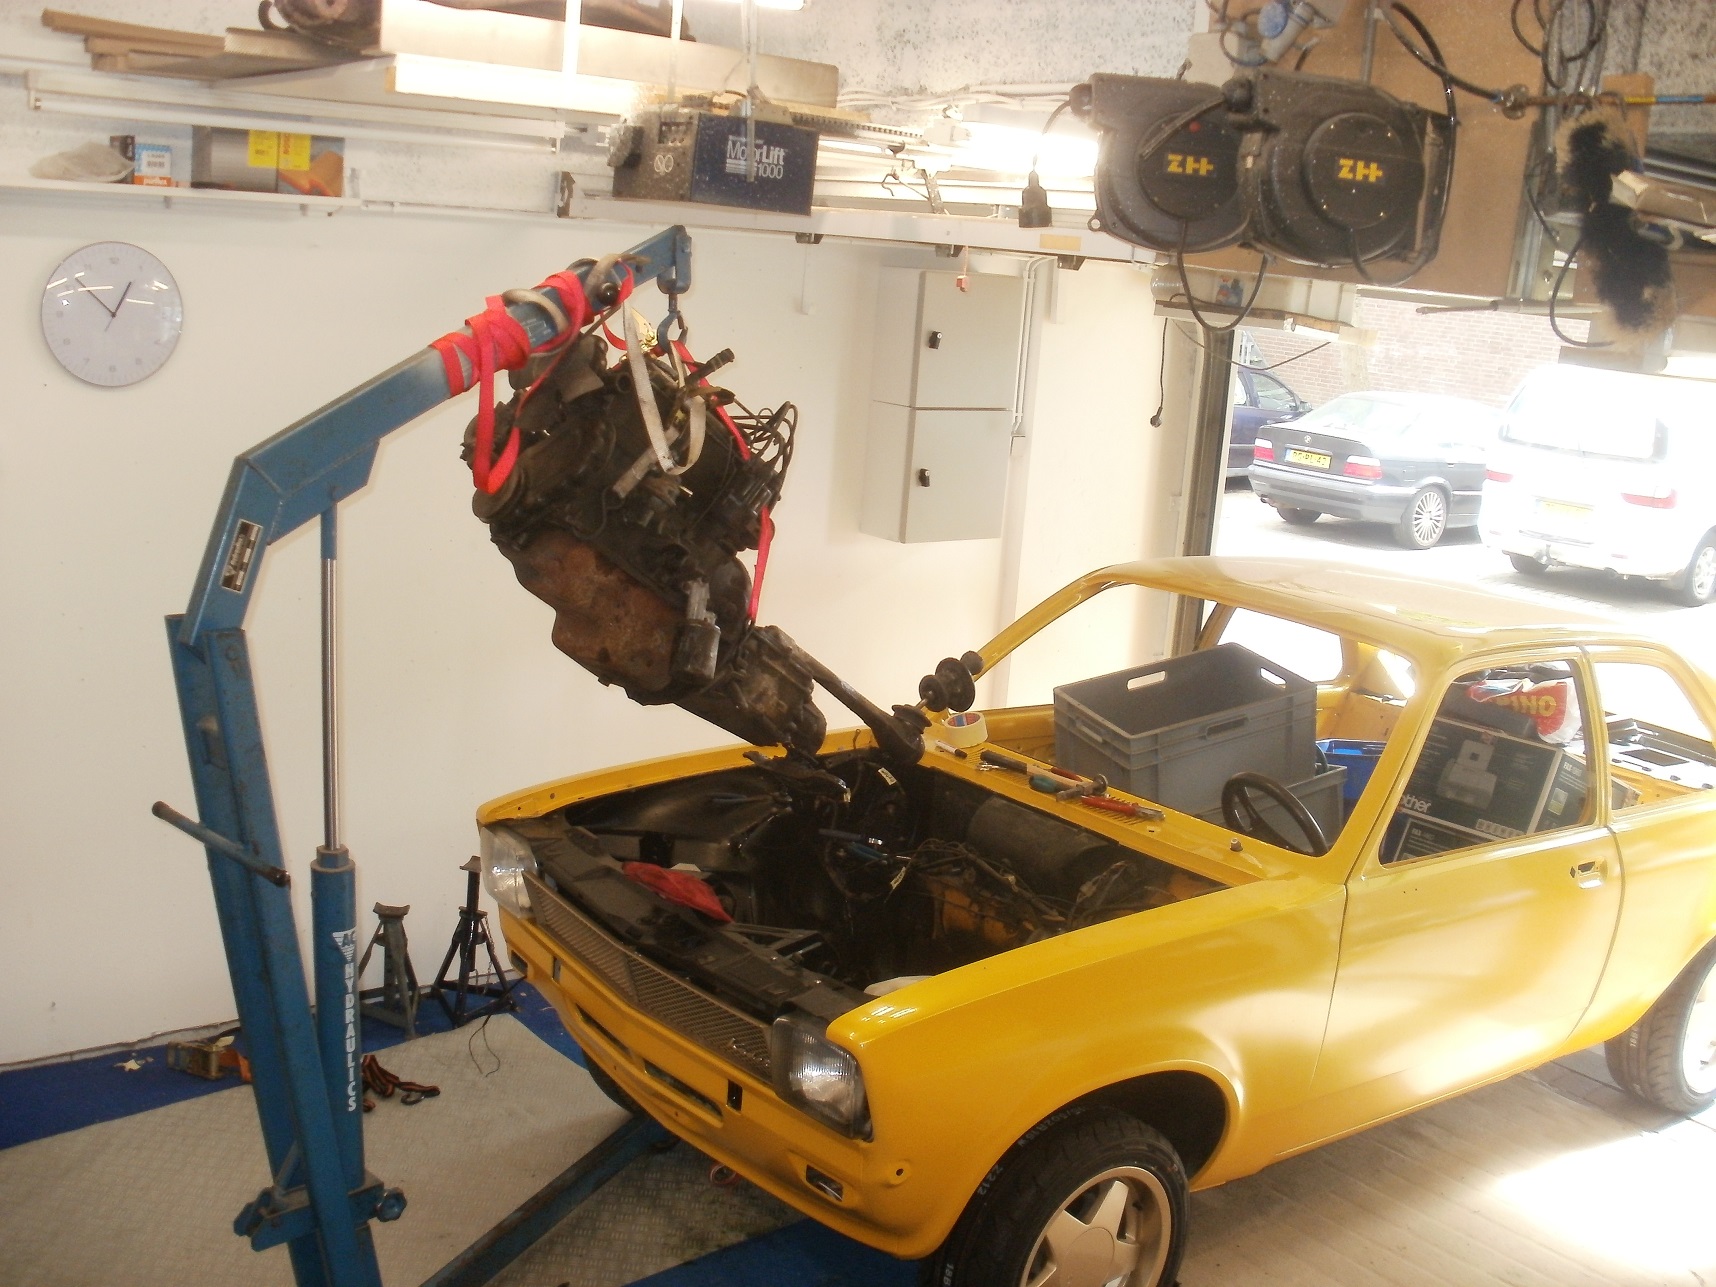
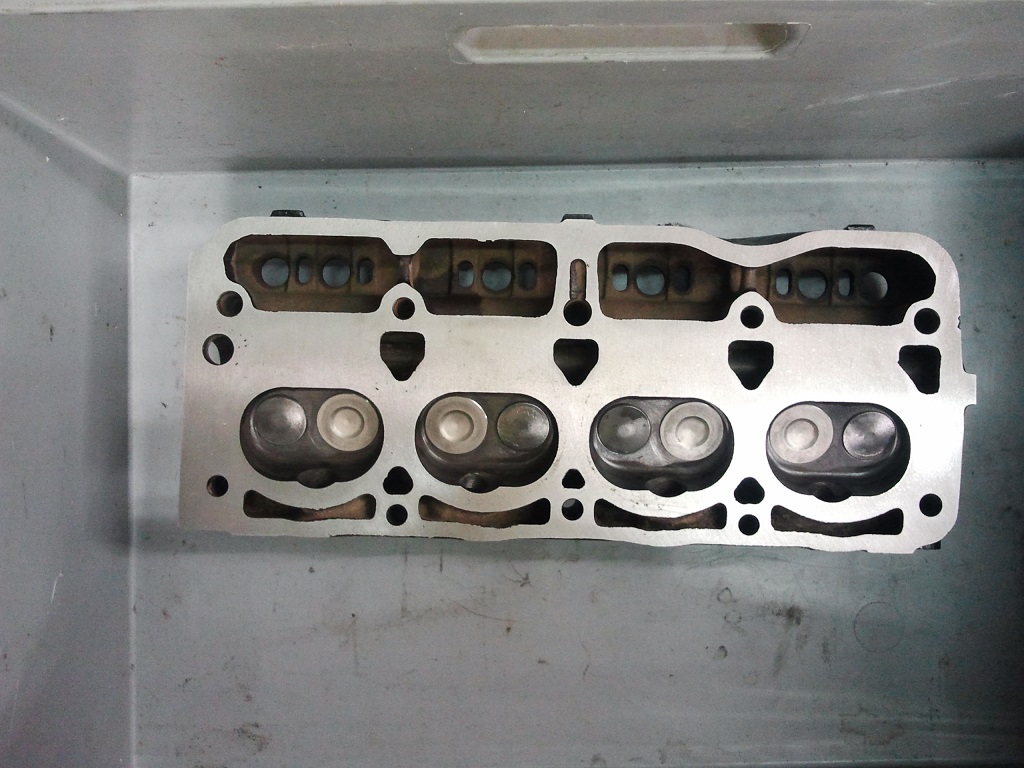
The engine is nice and clean, but when I test the compression I discover that cylinders 2 and 3 have lost almost 50%
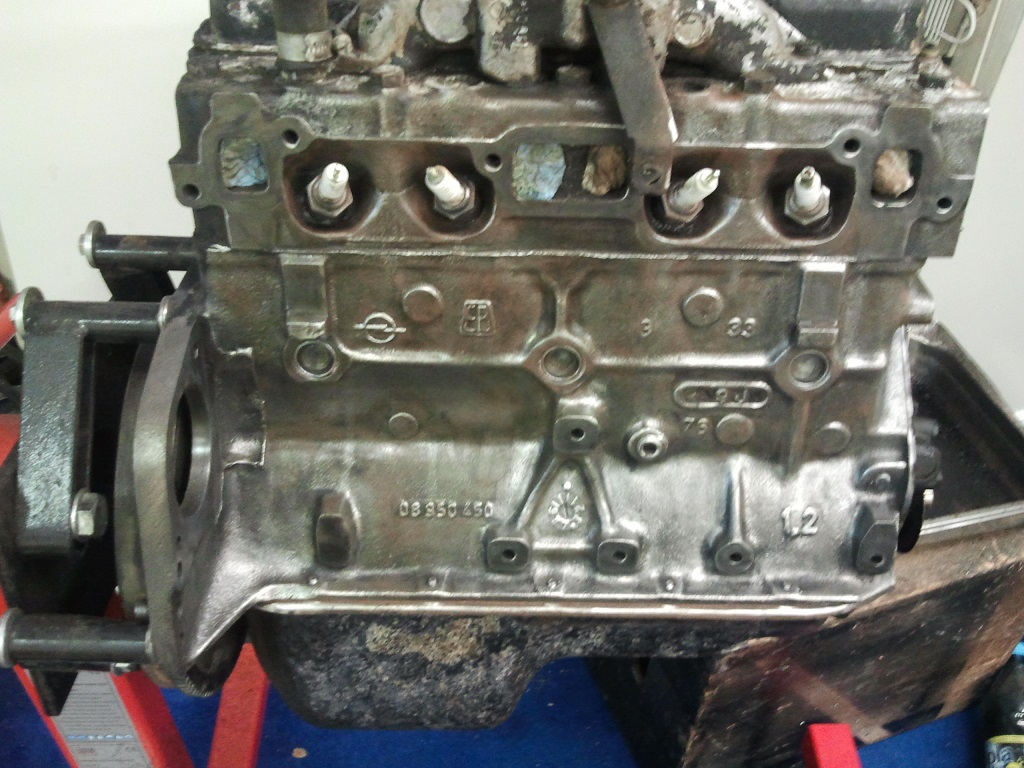
its probably a blown headgasket, when the cylinder head is removed the gasket looks fine
I filet up the cilinders whit liquid and the don't leak, so the next step is the valves
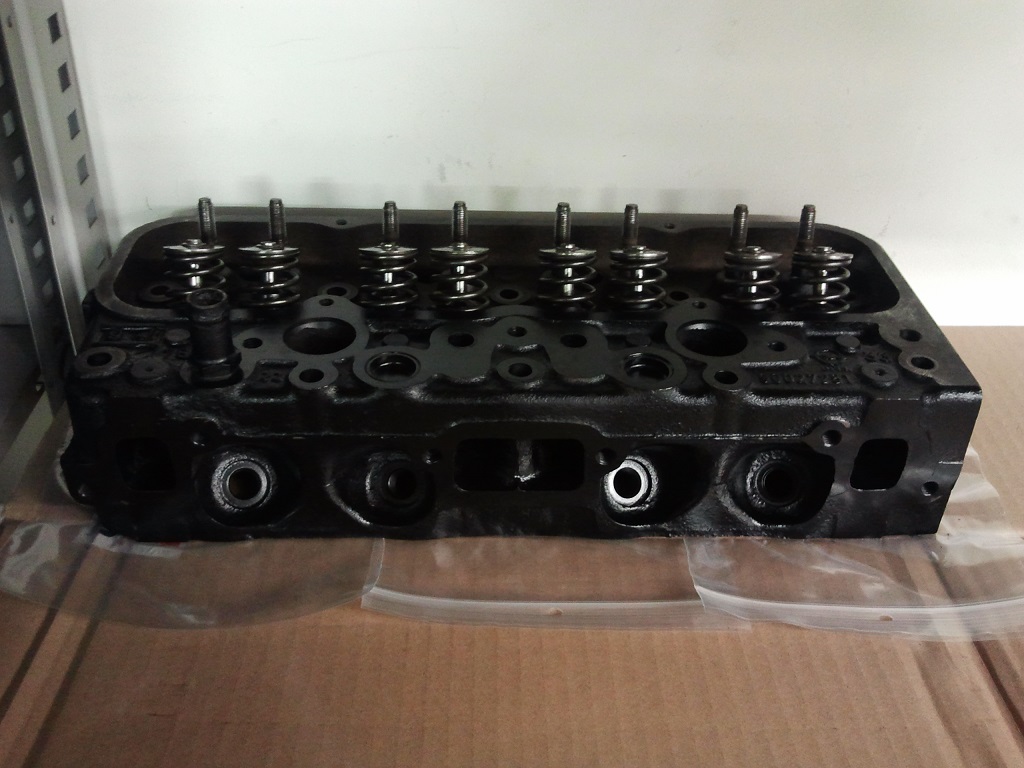
But thats something fore the professionals
4 new valves and is looks gread.
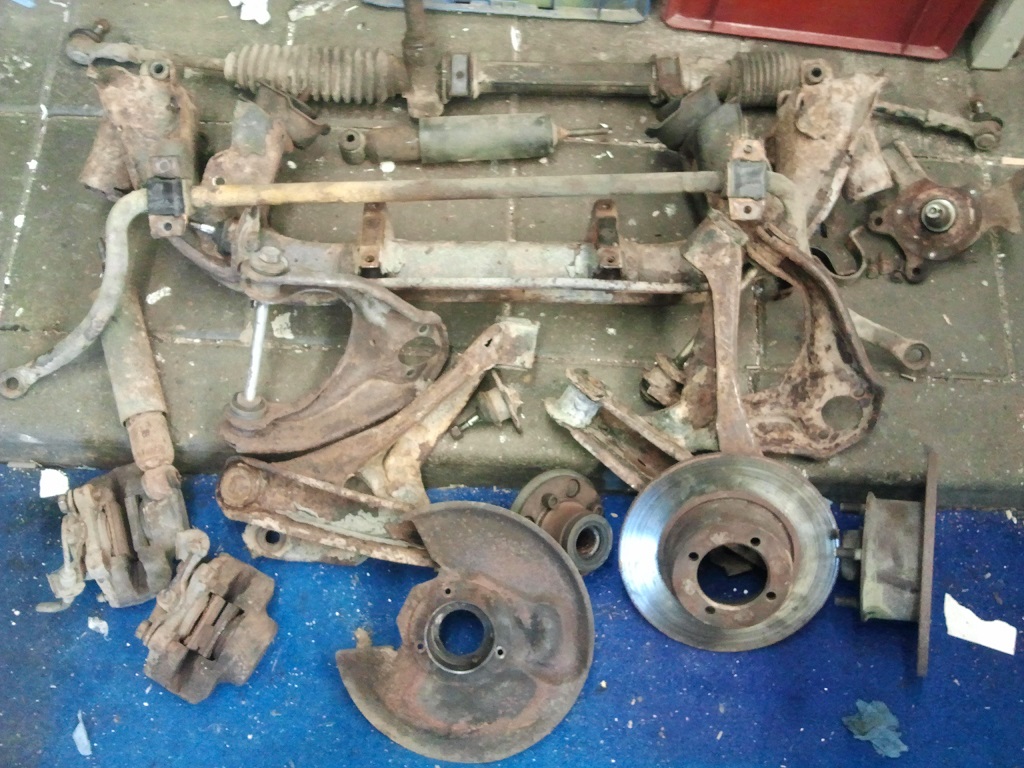
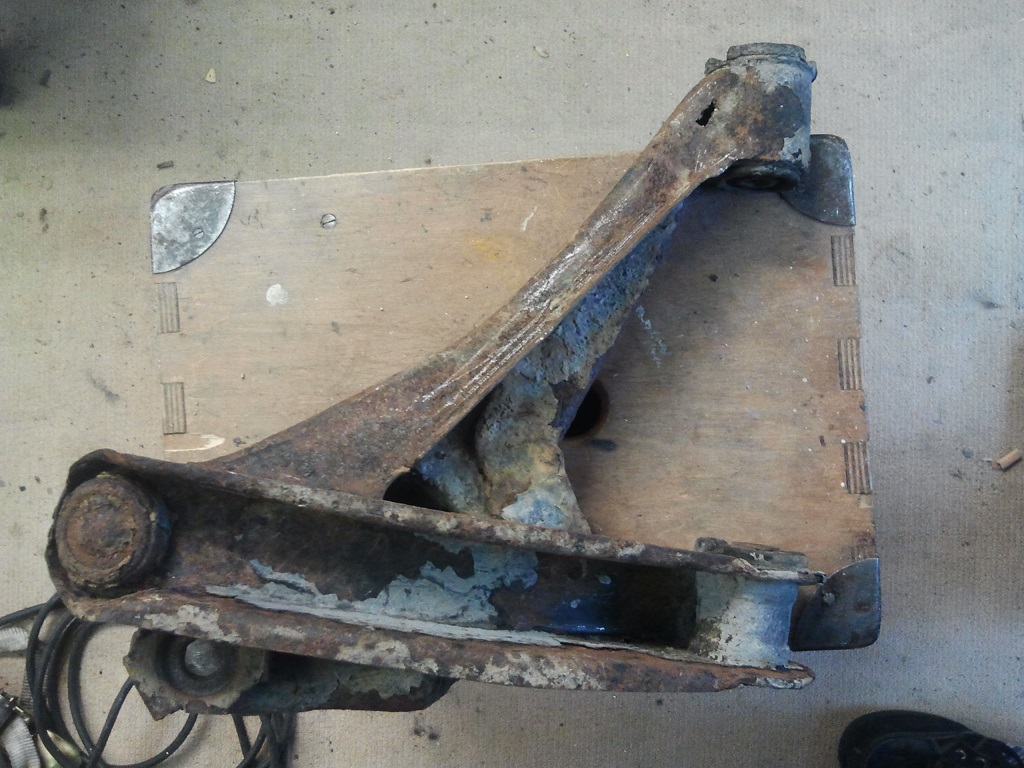
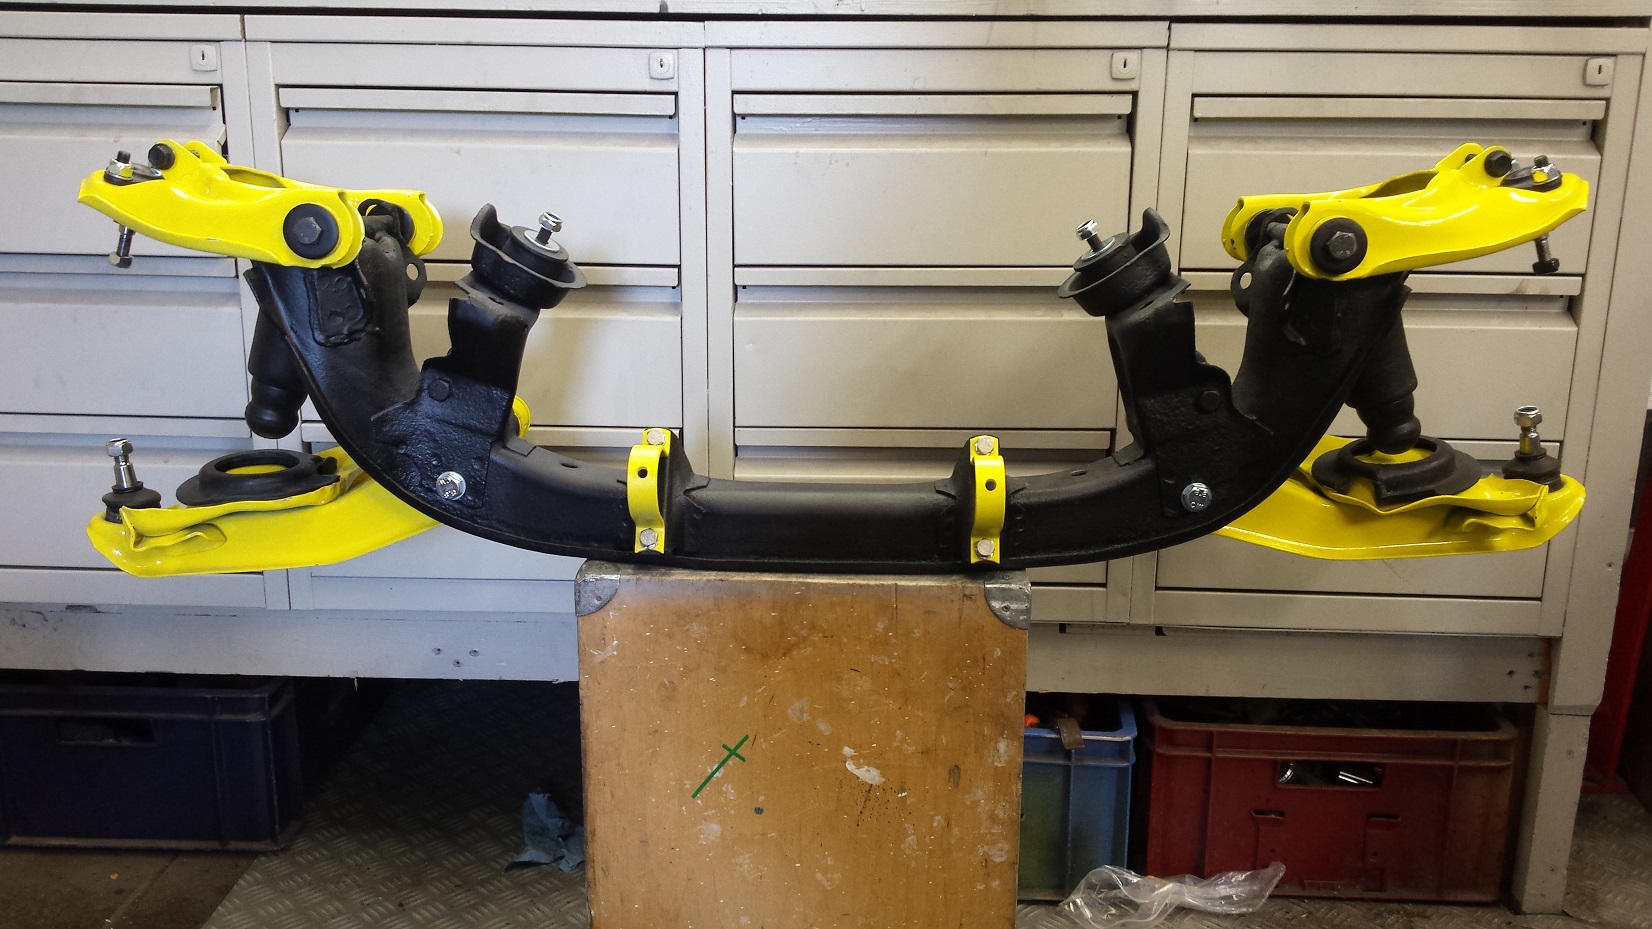
Still waiting on parts for the engine, so I started with the front axle, and I end up with a pile of scrap metal.
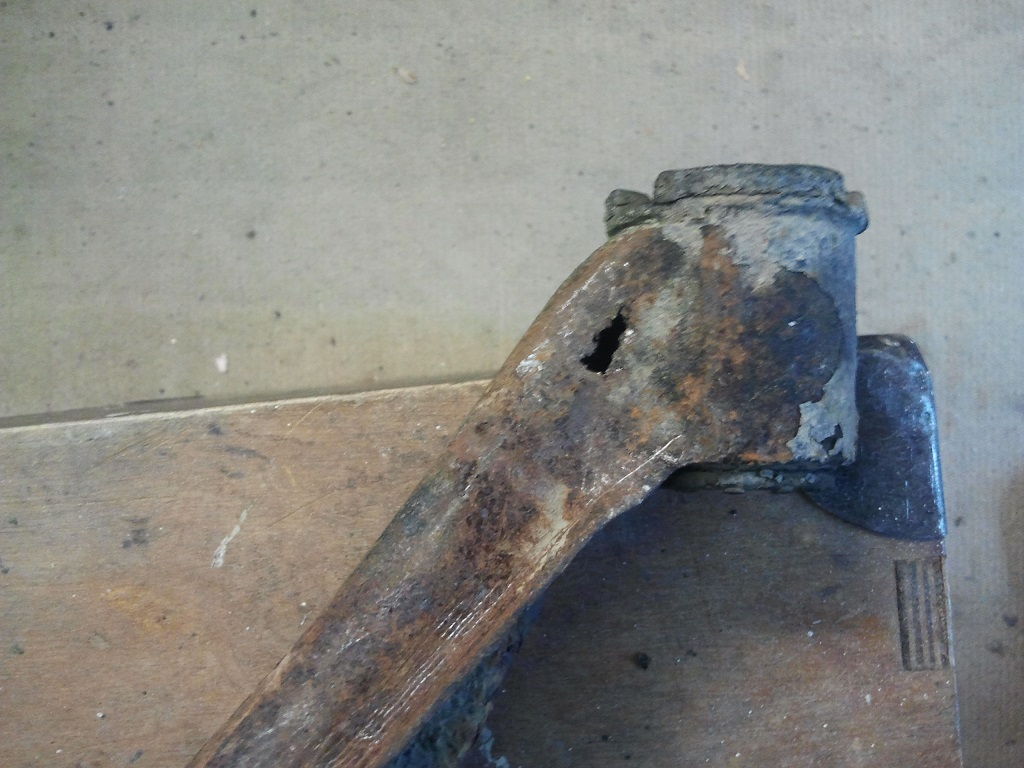
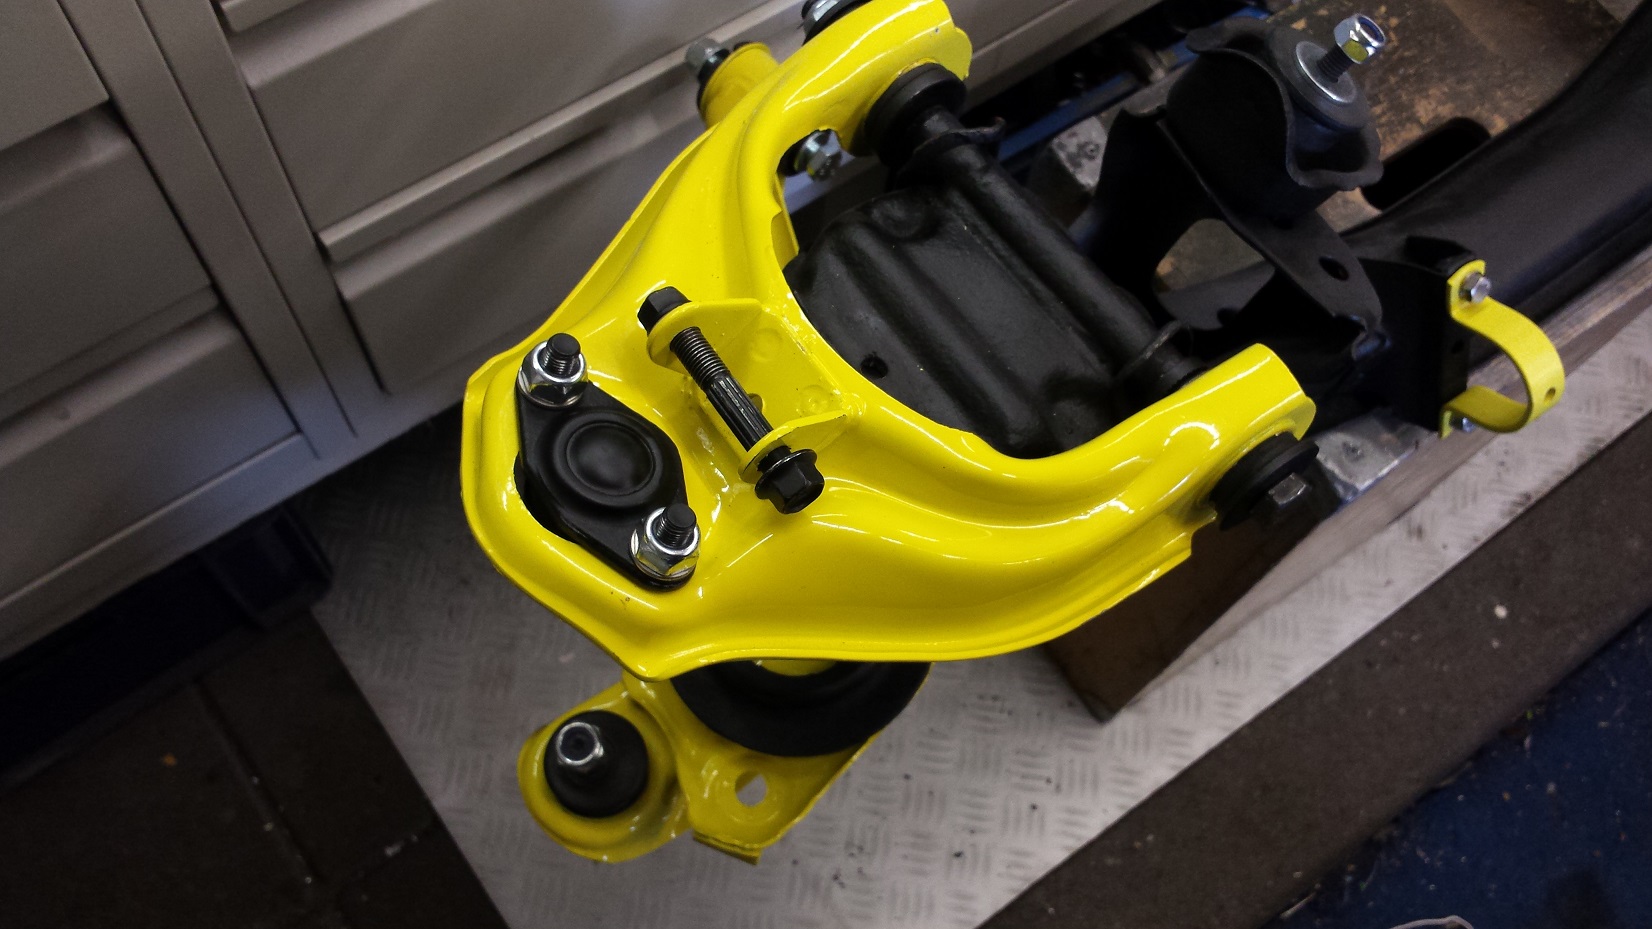
One of the Control arms even has a hole in it
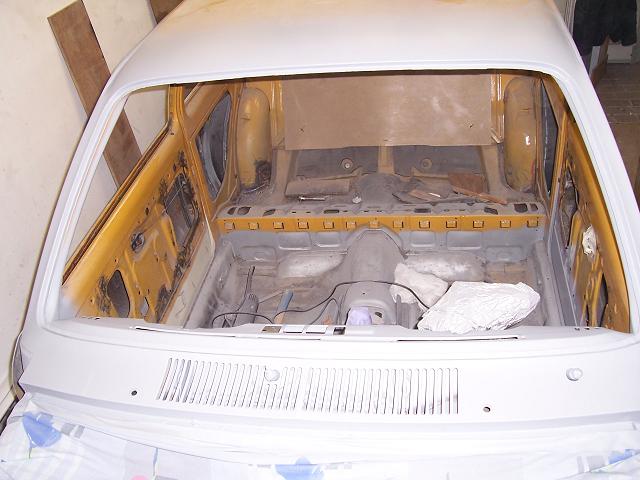
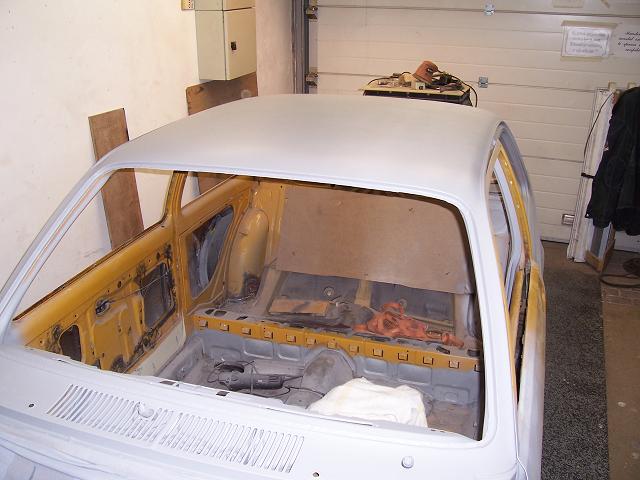
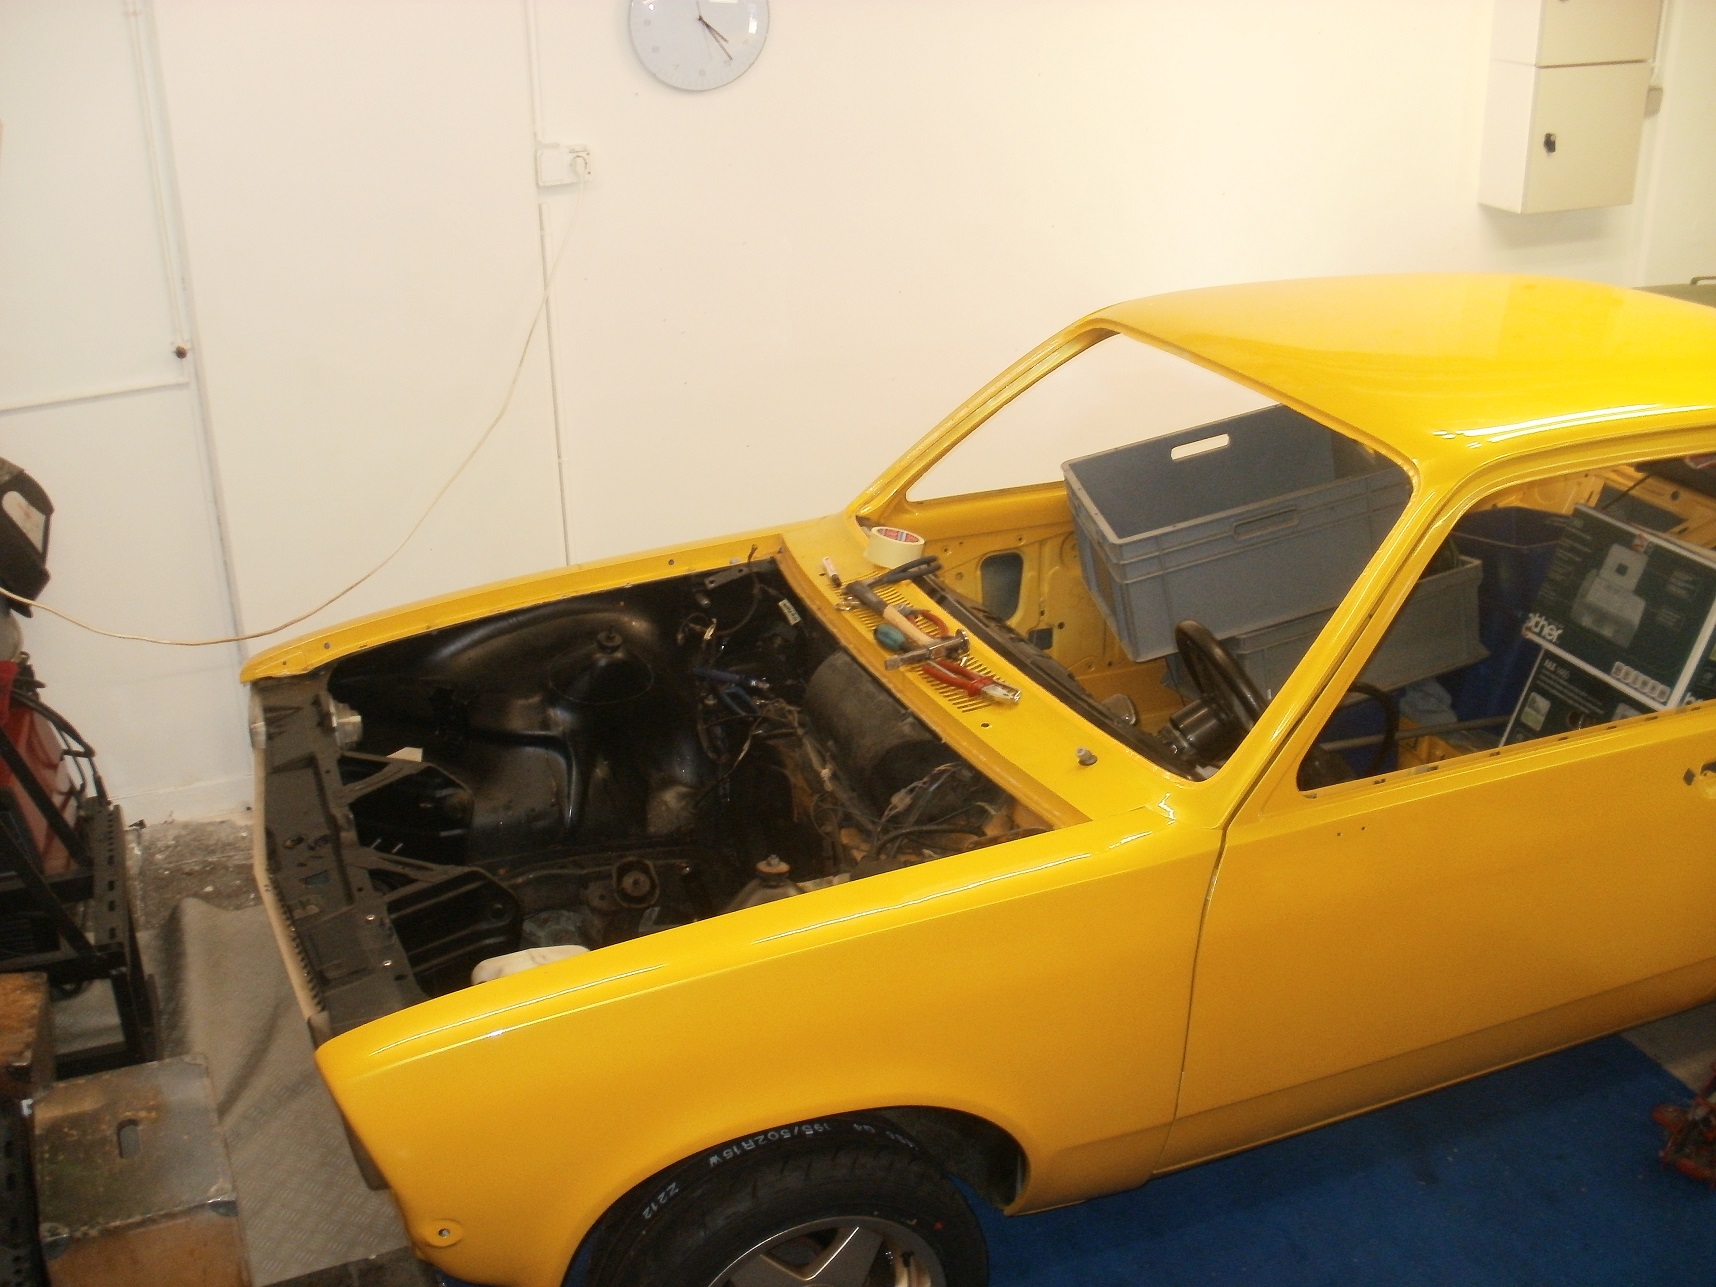
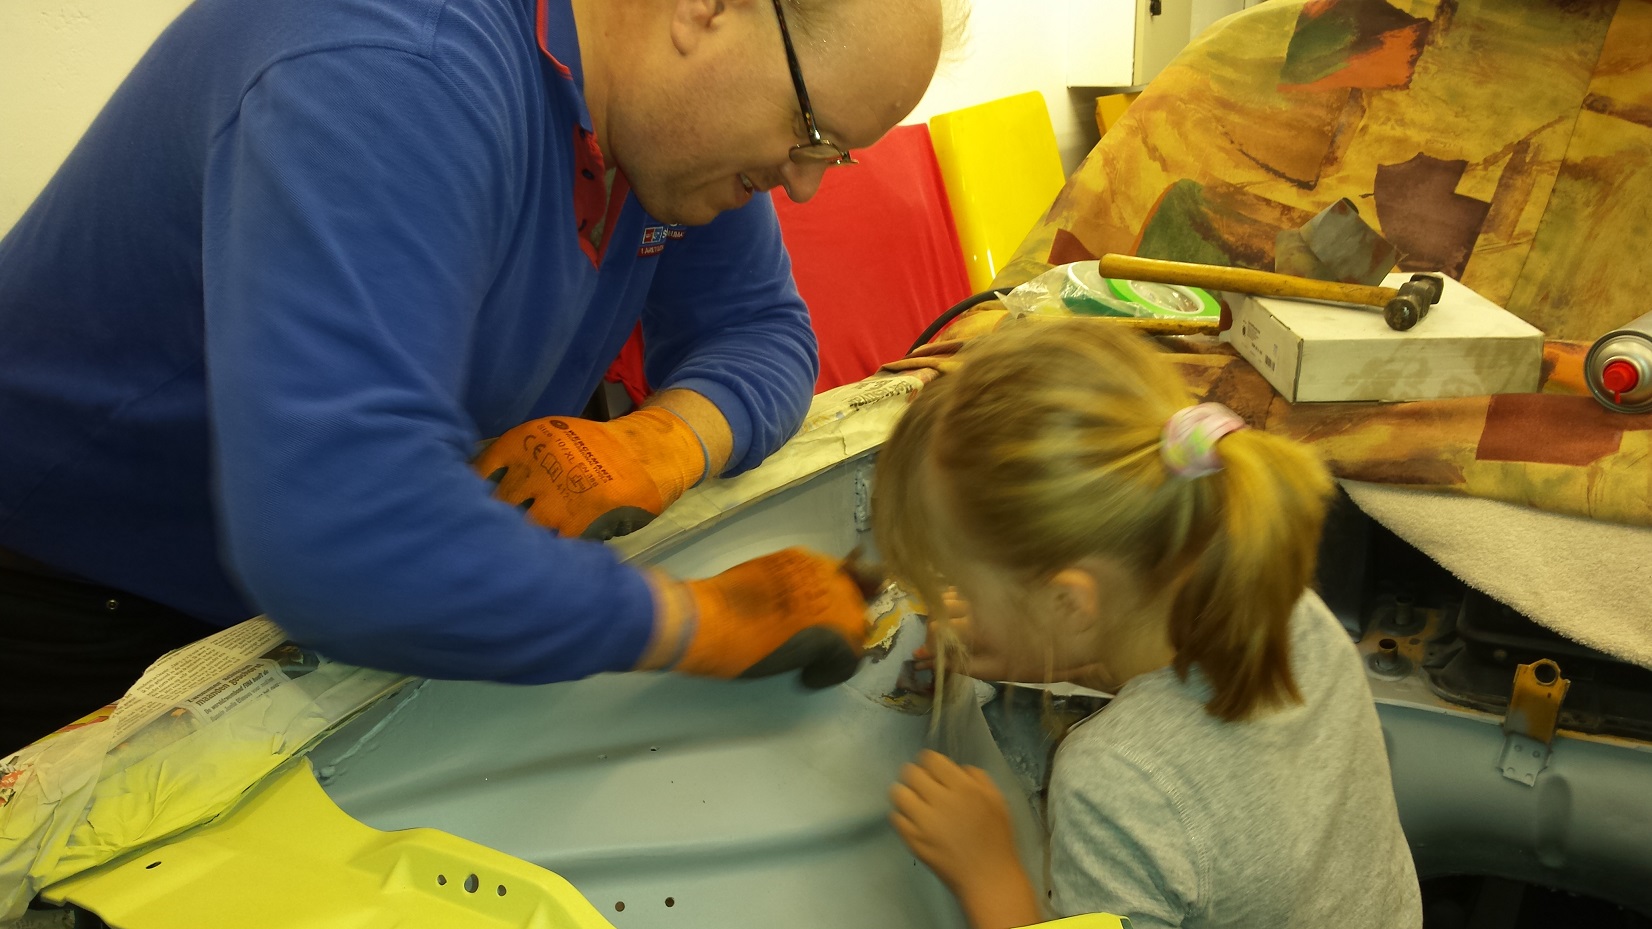
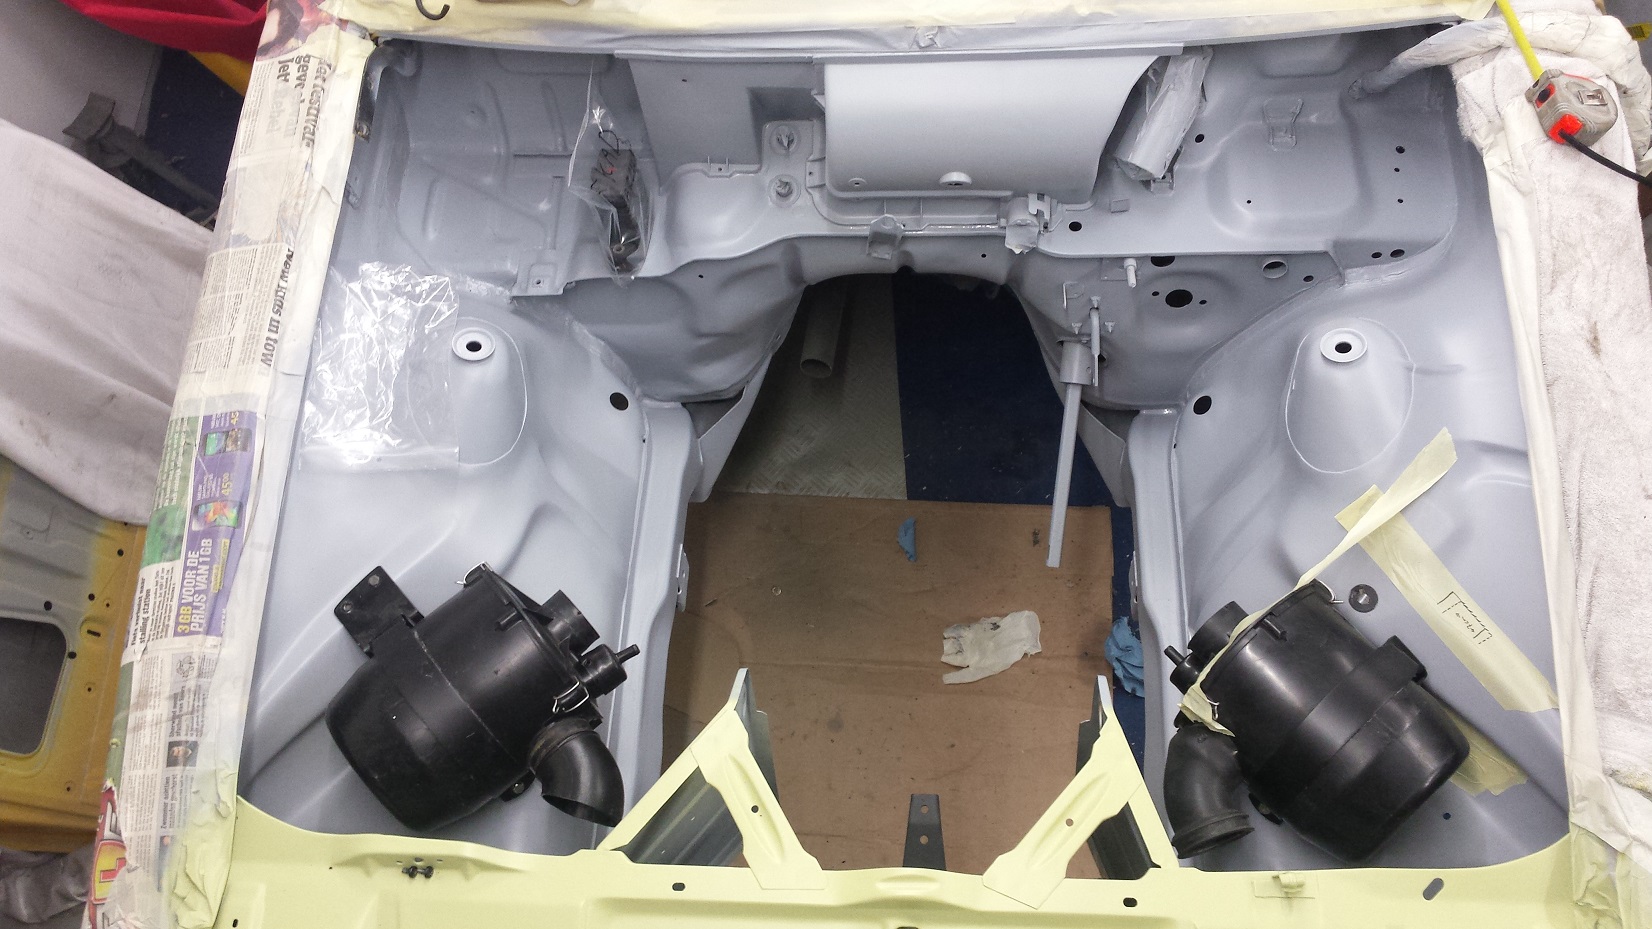
Together with my lovely assistant the engine compartment gets a makeover
sanding and filling, and the result , wel we are both very pleased
And before there is even one drop of paint on it the custom-virus resurfaced.
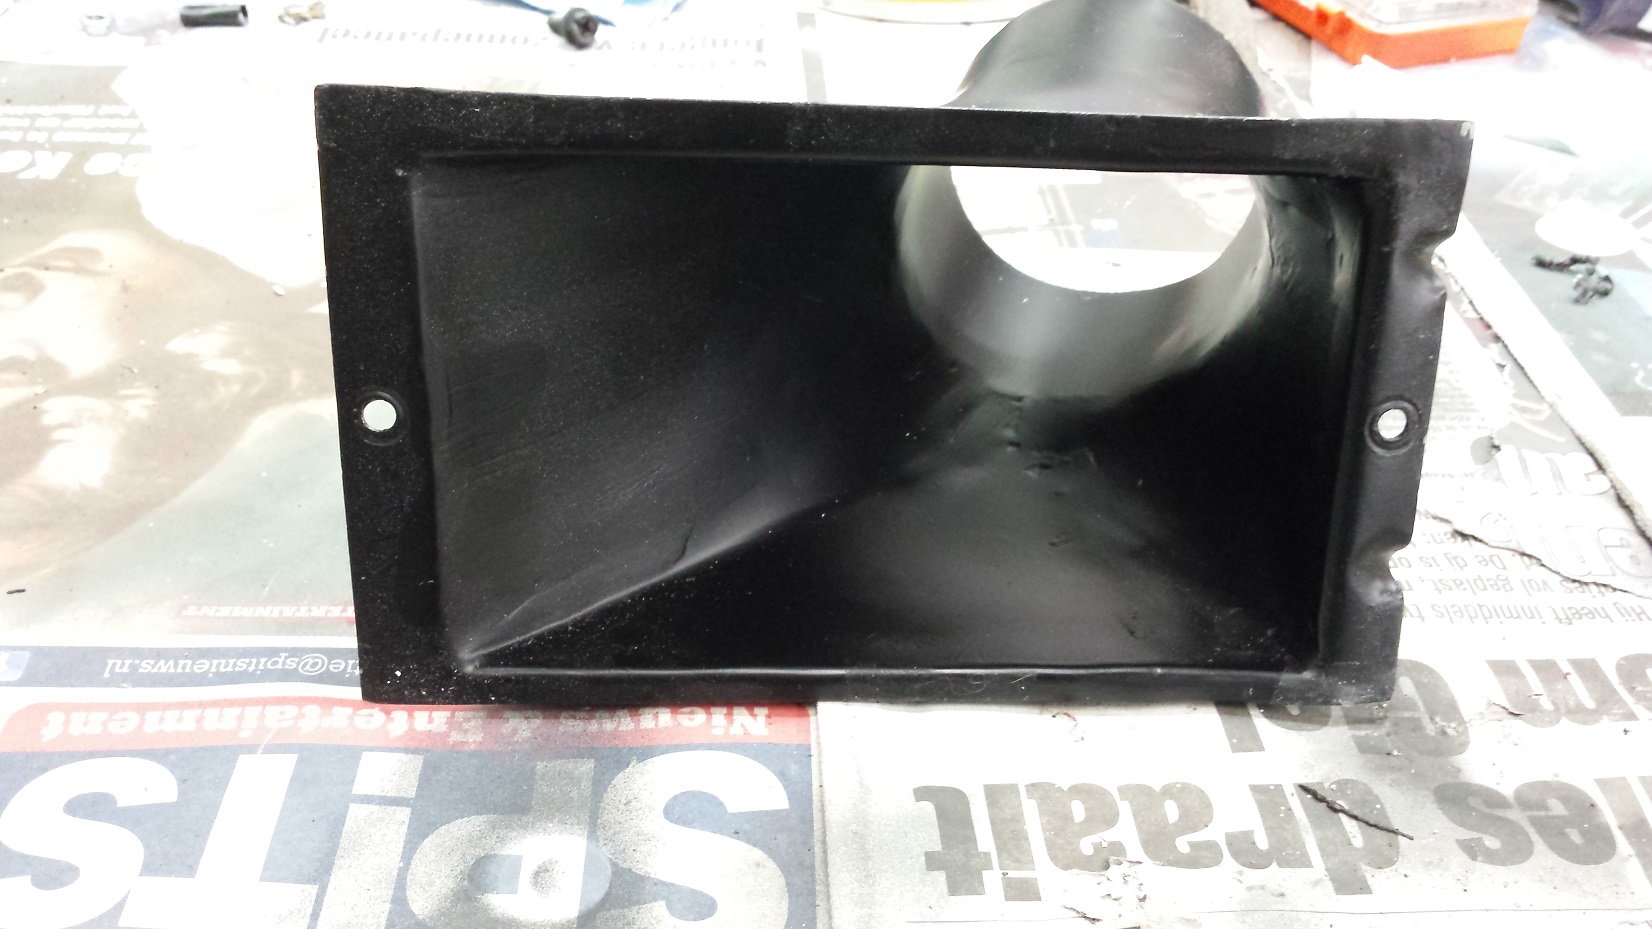
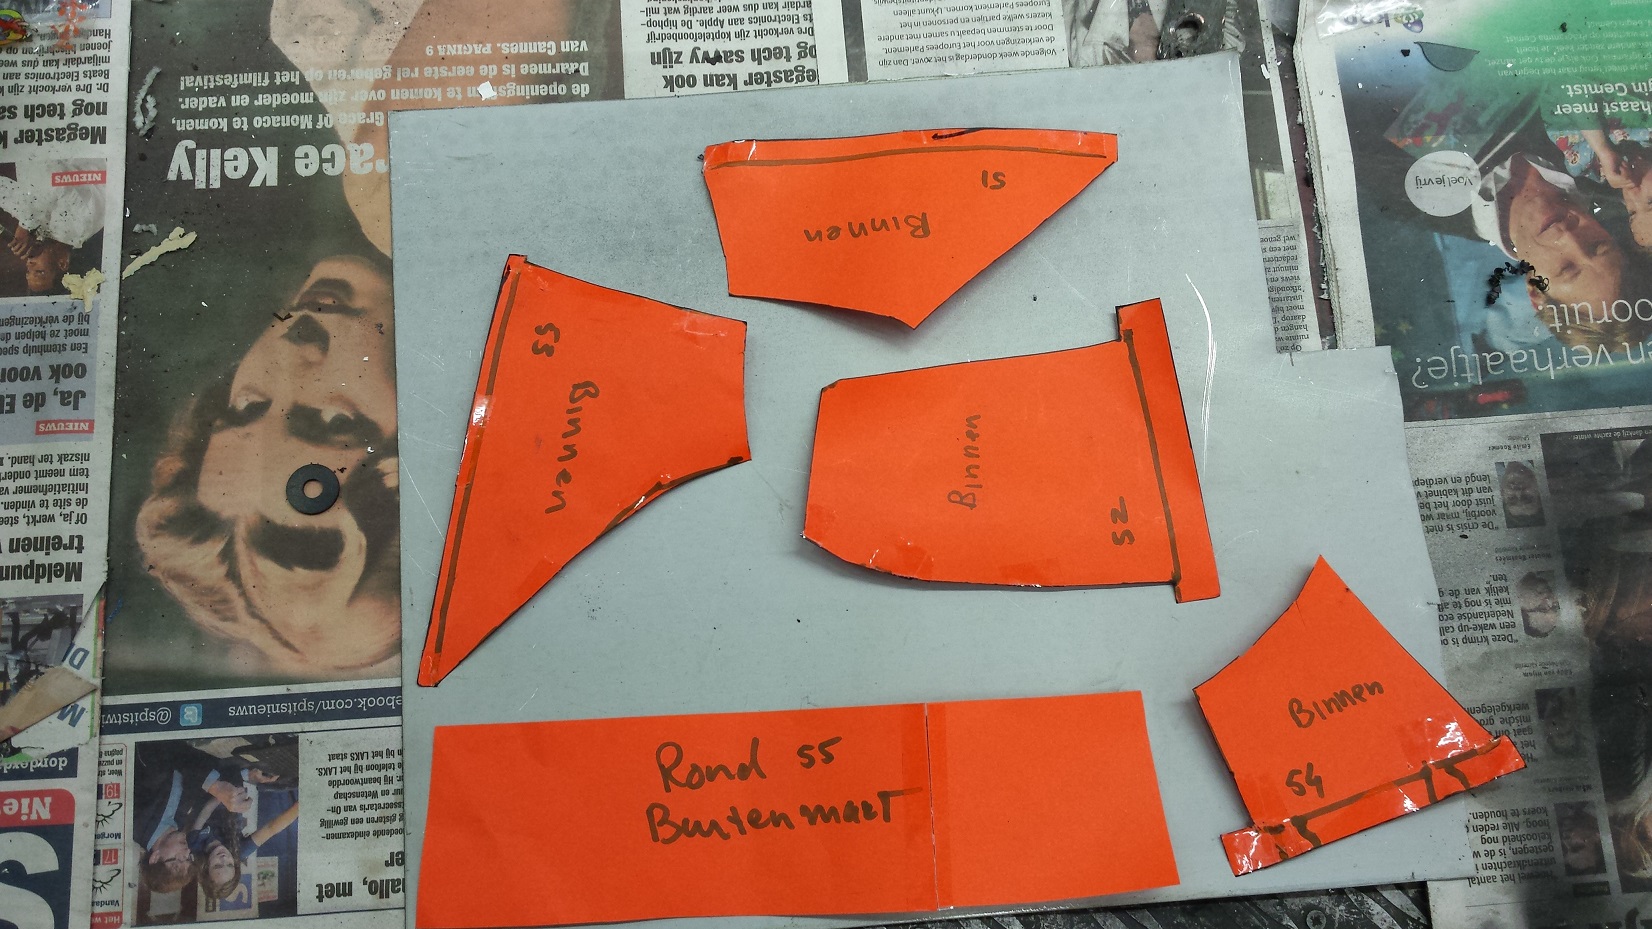
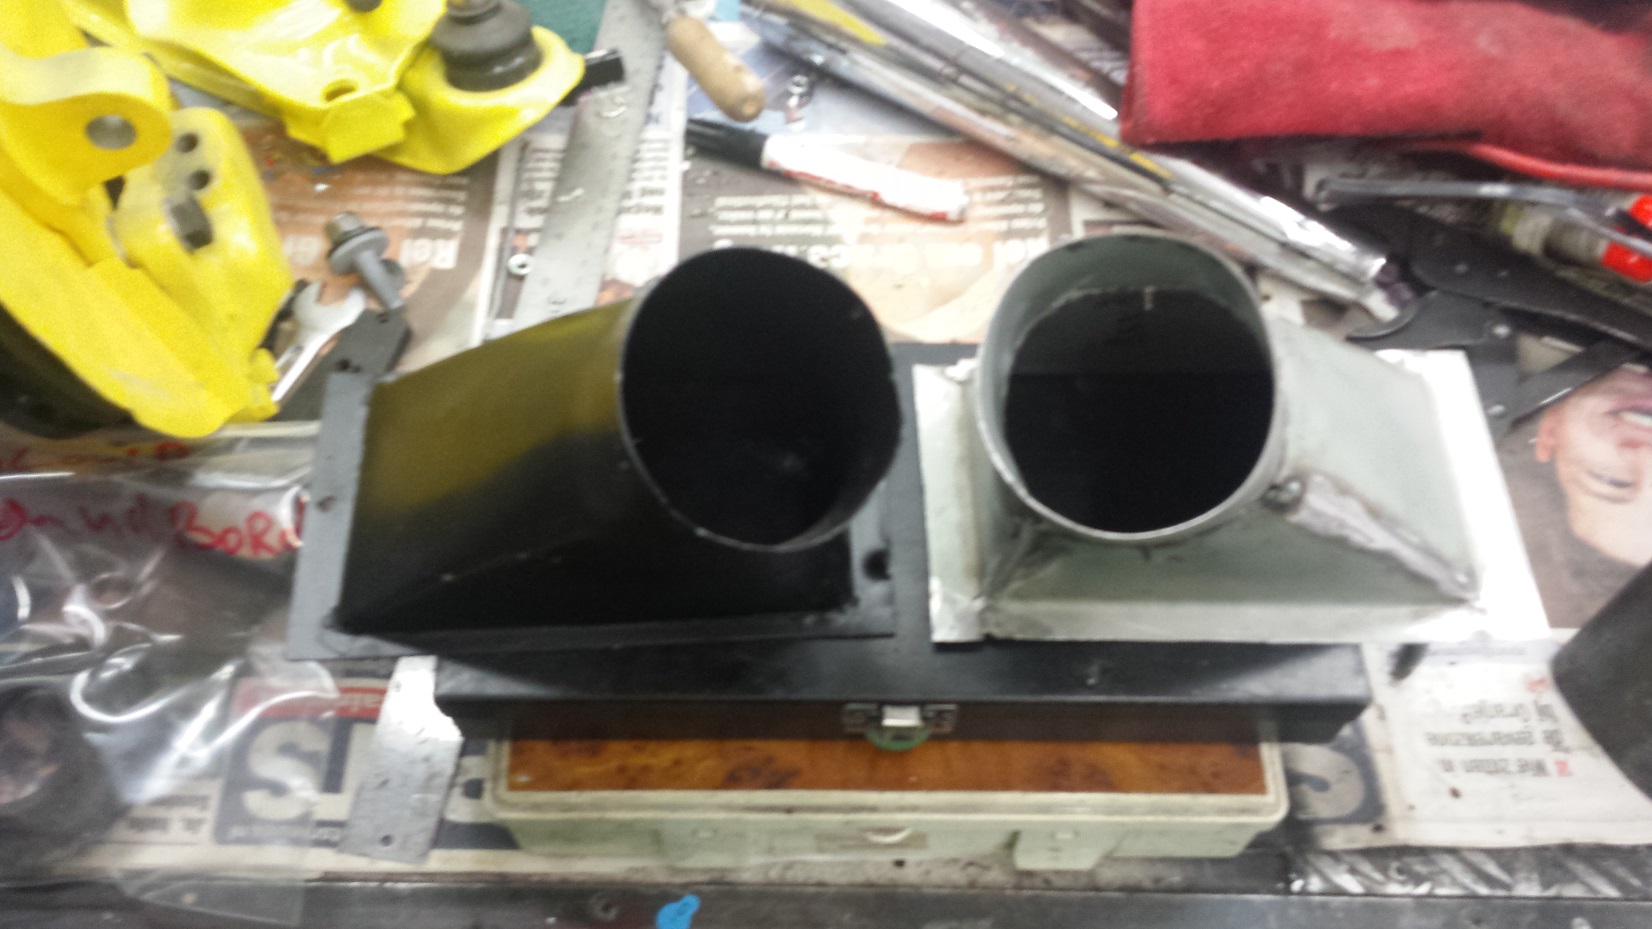
Wait, I have an intake manifold for two carburettors but with only one air filter
The air filter that I use is off a Saab 900, and at the car wreckers I quickly score a 2nd one
and using some cardboard a 2nd inlet in mirror image is created
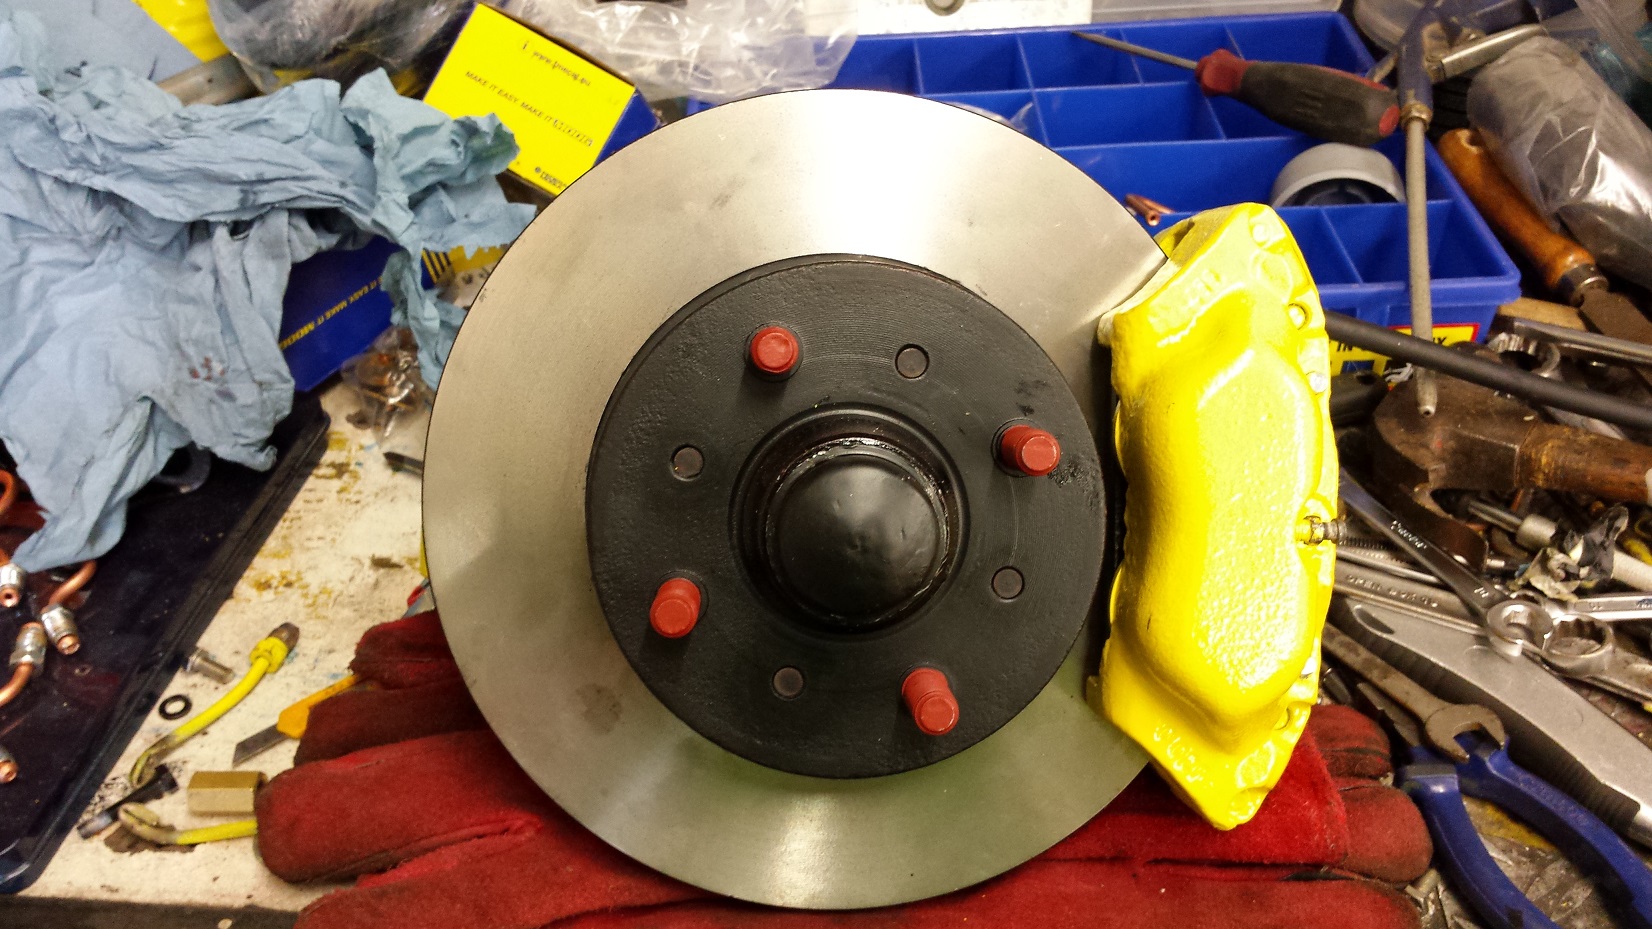
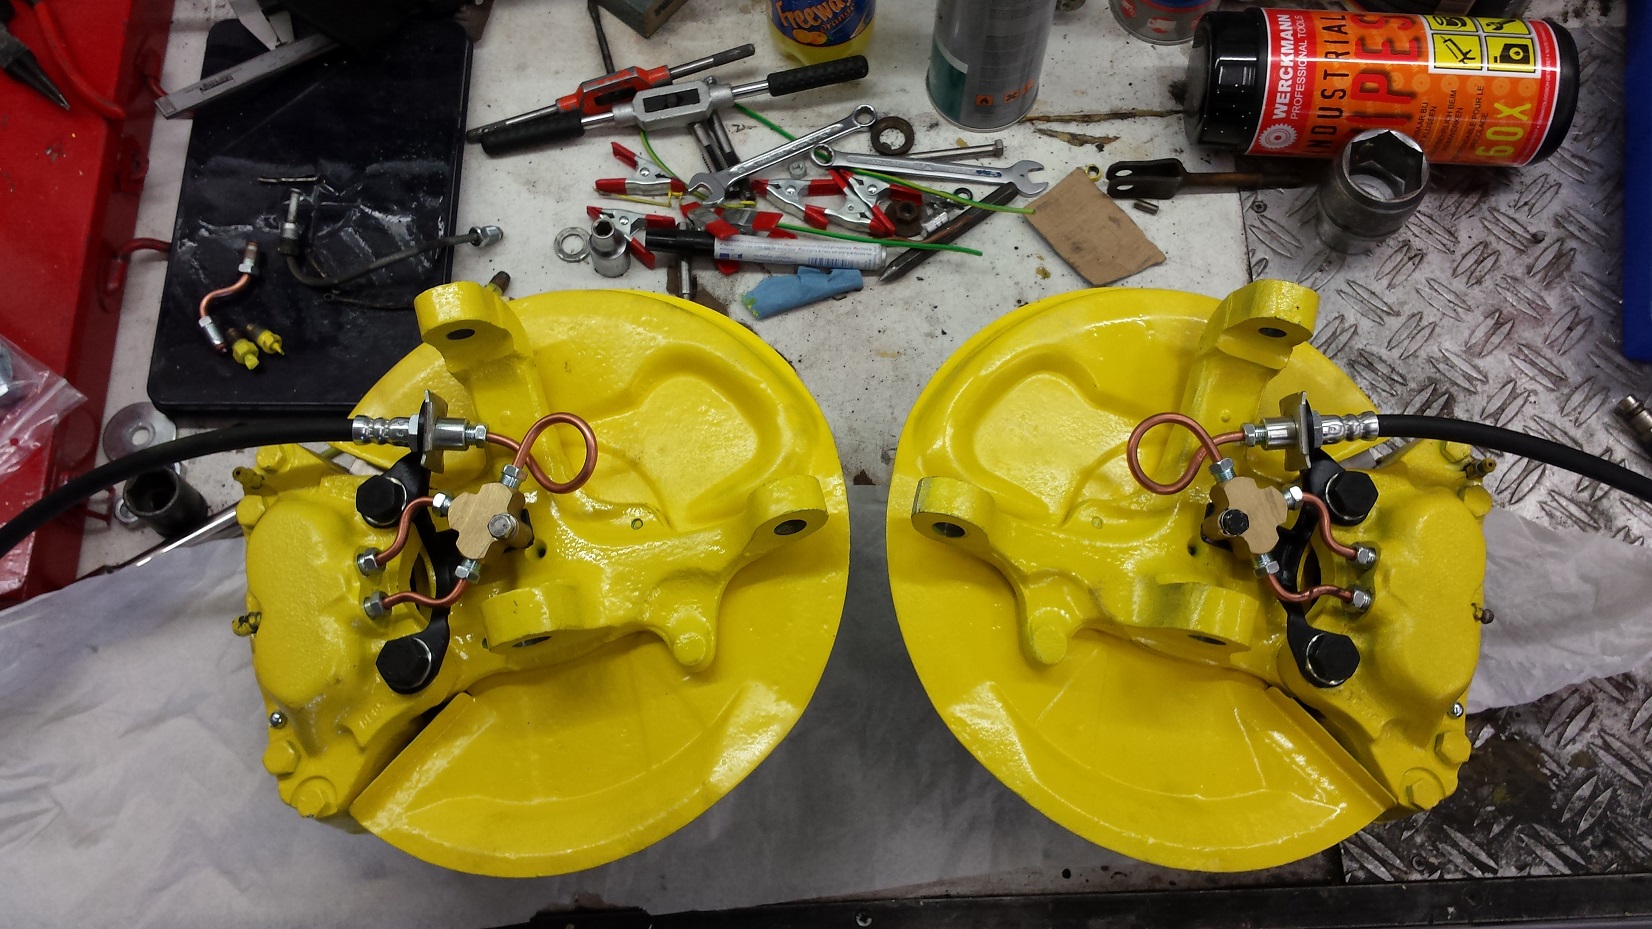
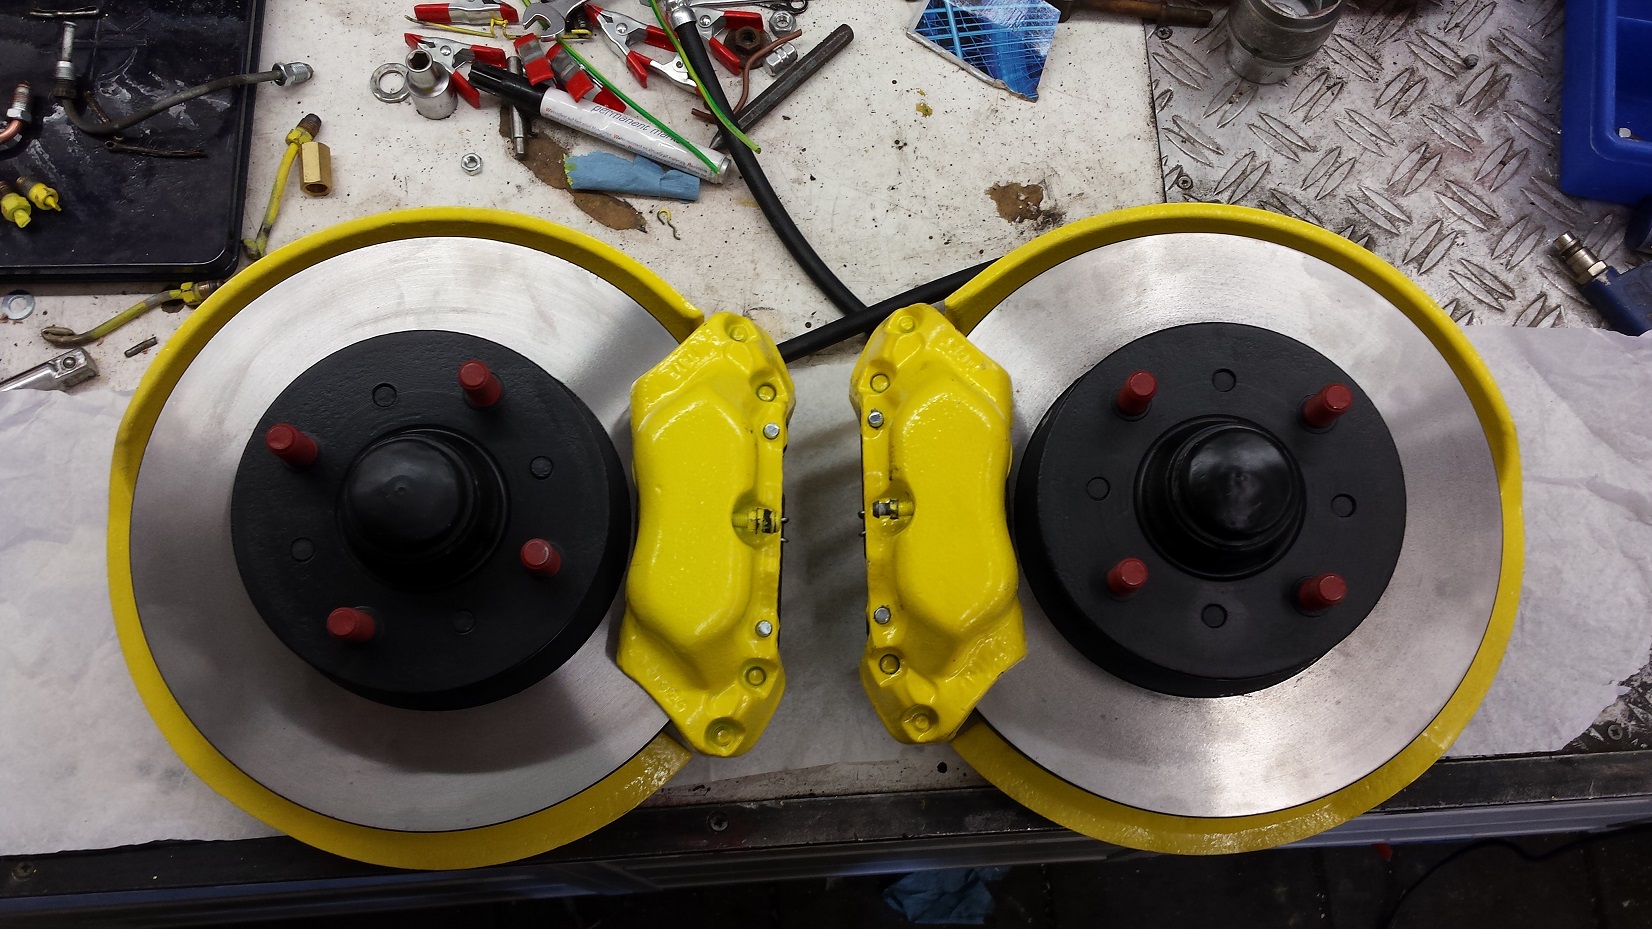
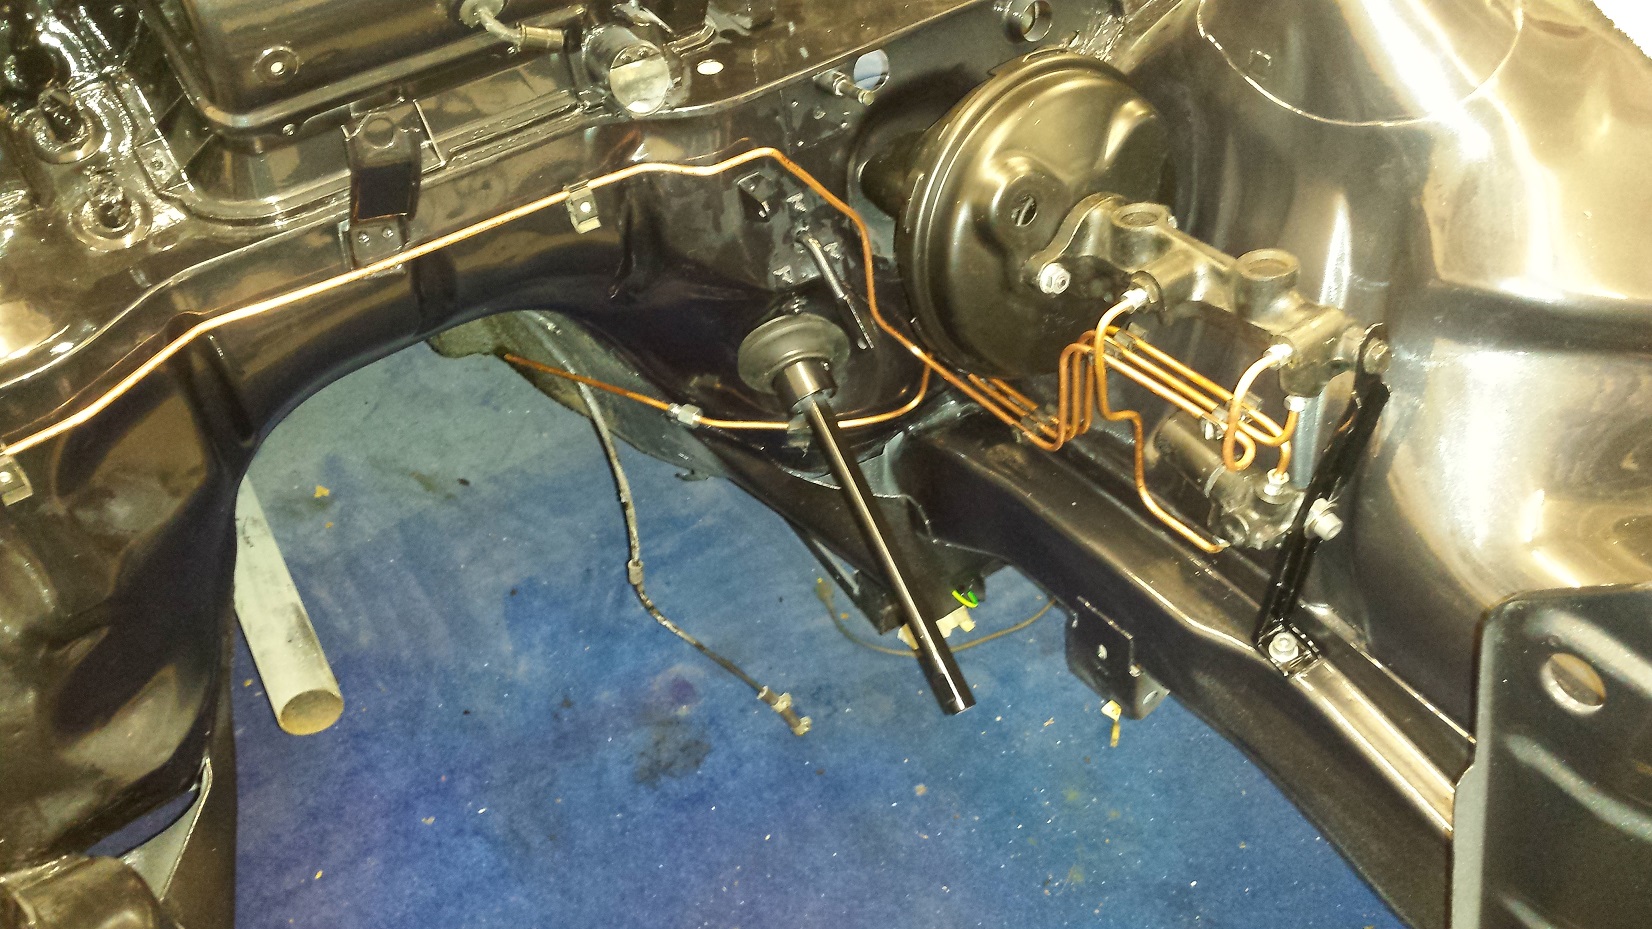
The brakes also get an upgrade, ventilated discs off a Opel Rekord and calipers
off a Volvo 240, only these have two brake lines, but that's easily solved
The back plates are modified so that the larger brakes fit
And there is the "new" axle with new control arms
in 1975 the Kadett didn't have a brake booster ,well now it does
And some new brake lines
new pictures coming soon
These guys have helpt me out with good advice
and affordable tools of good quality
Rustbuster veenendaal.
a kadett on nurburgring!.
Here are thousands of pictures of:
Formule 1,DTM,rally,A1GP and so on.
it's to much to....... just look for yourself

autosportpics.nl
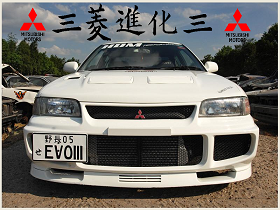
Henri's evo3 site.
Rally Voor Kids.
la macchina piccola ,ma grande di cuore
another rustorator
Sorry only in dutch but
pictures say more than words
stefan@carcustom.nl
 continuous